20 Curly Hair Christmas Hairstyles for a Festive Look

Curly hair brings instant charm during the holidays. The texture already carries movement, so even simple styles feel fun. This guide shares creative ideas that you can pull off with easy steps and affordable items you already have at home. Each look works for casual gatherings, winter dinners, or holiday photos. Take what fits your length and curl type, and play with it at your own pace.

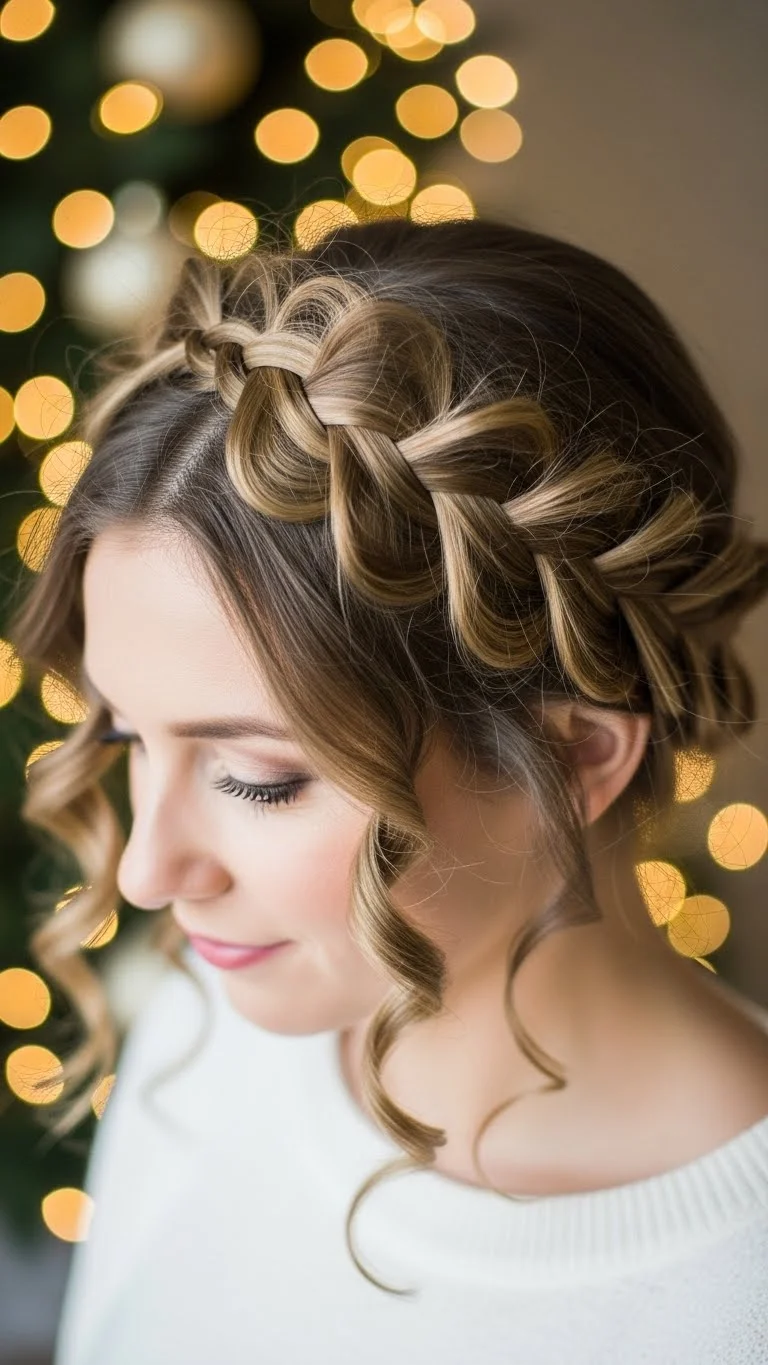
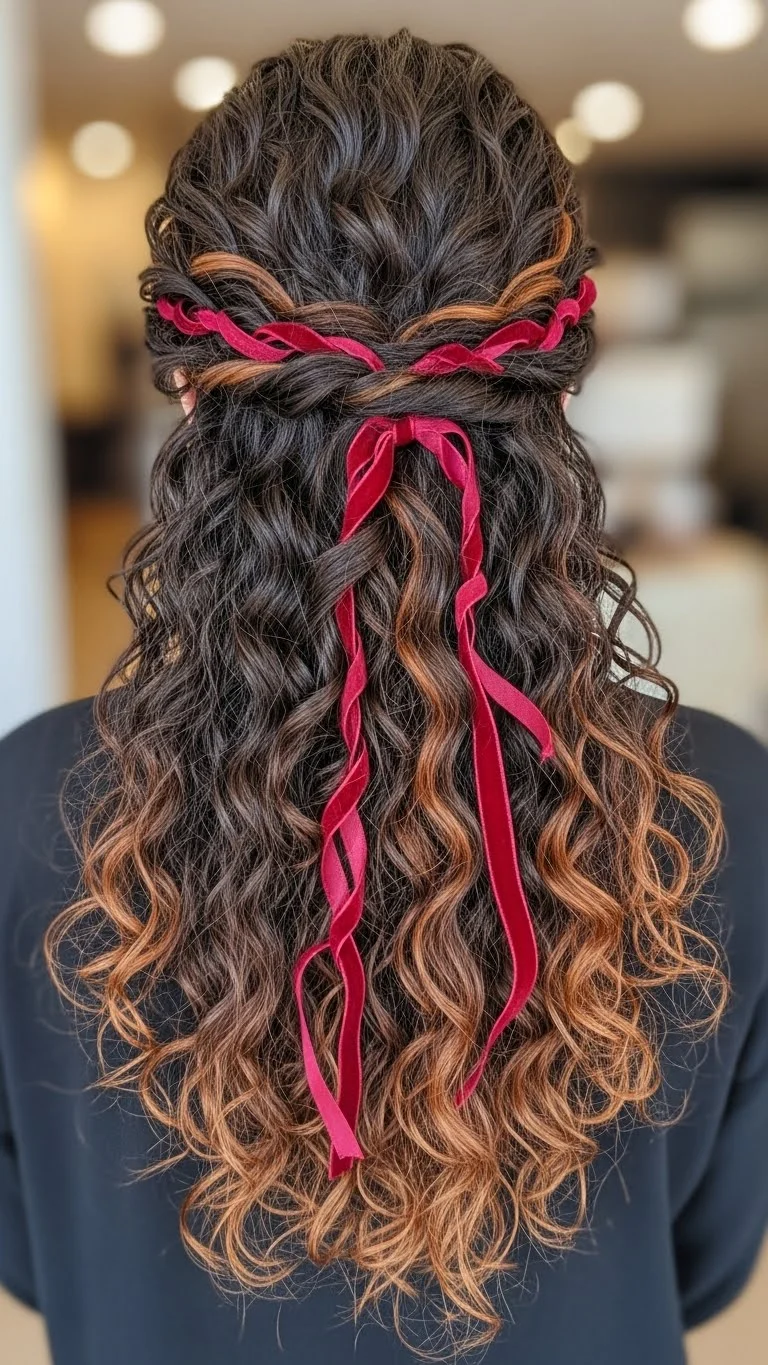
- Soft Curly Half-Up Bow
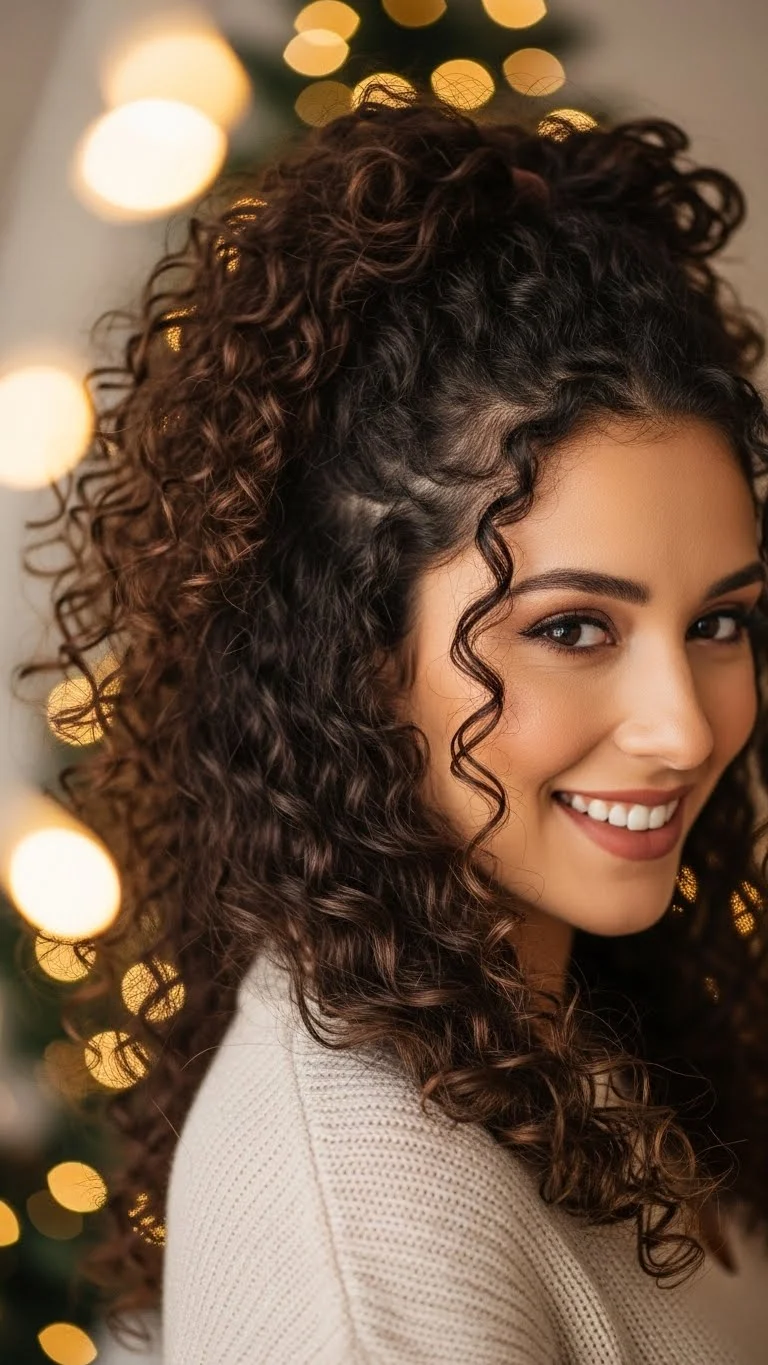
Create a sweet half-up style shaped like a bow using your natural curls. Take two small sections from each side. Tie them loosely with a small elastic, then fold each side into a bow shape. Pin gently with bobby pins. Keep the rest of your curls loose. The look feels playful without feeling overdone. Use a tiny bit of curl cream to smooth frizz. Keep your touch soft. Add a red or green pin for a holiday touch. It holds best on day-two curls, but fresh curls work too. If your hair is shorter, make a smaller bow. If you want volume, flip your hair upside down and shake your roots. It’s quick, cute, and comfortable for long hours of celebrating.
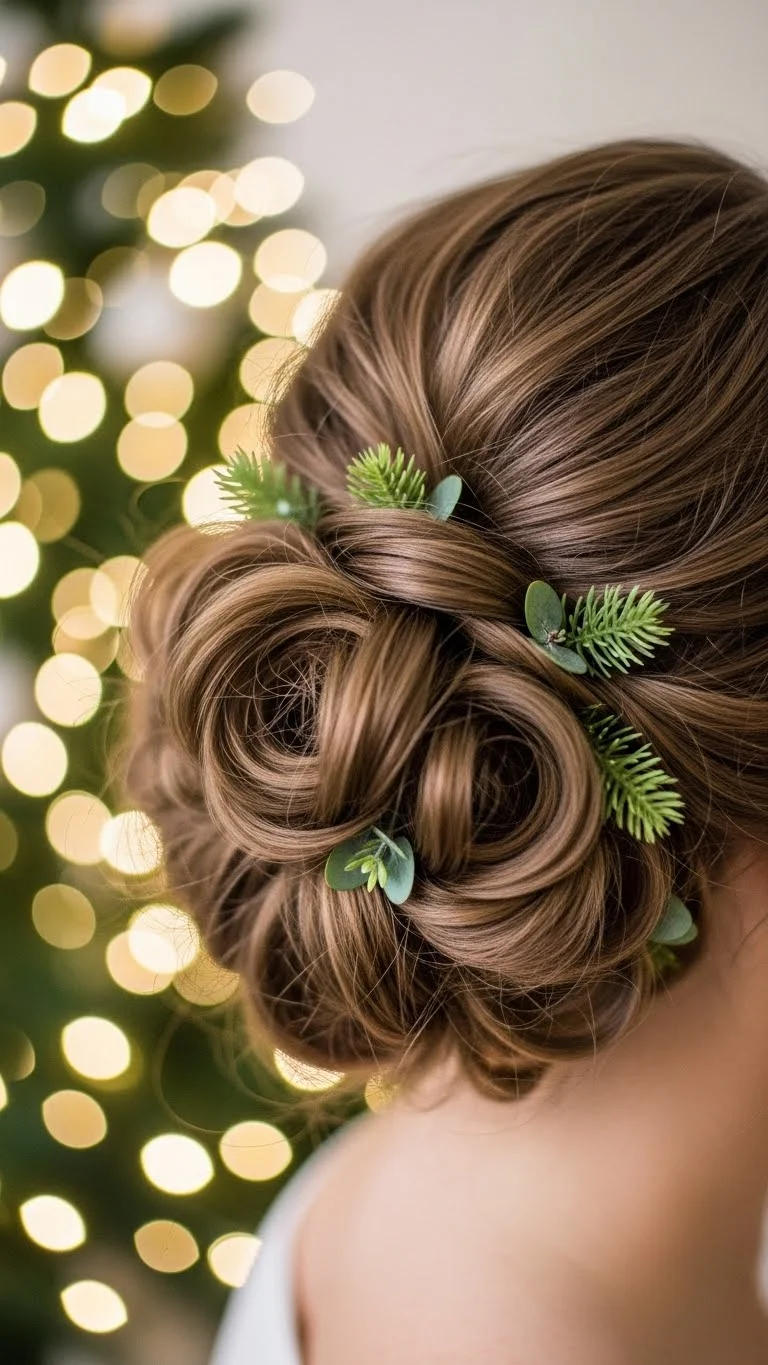
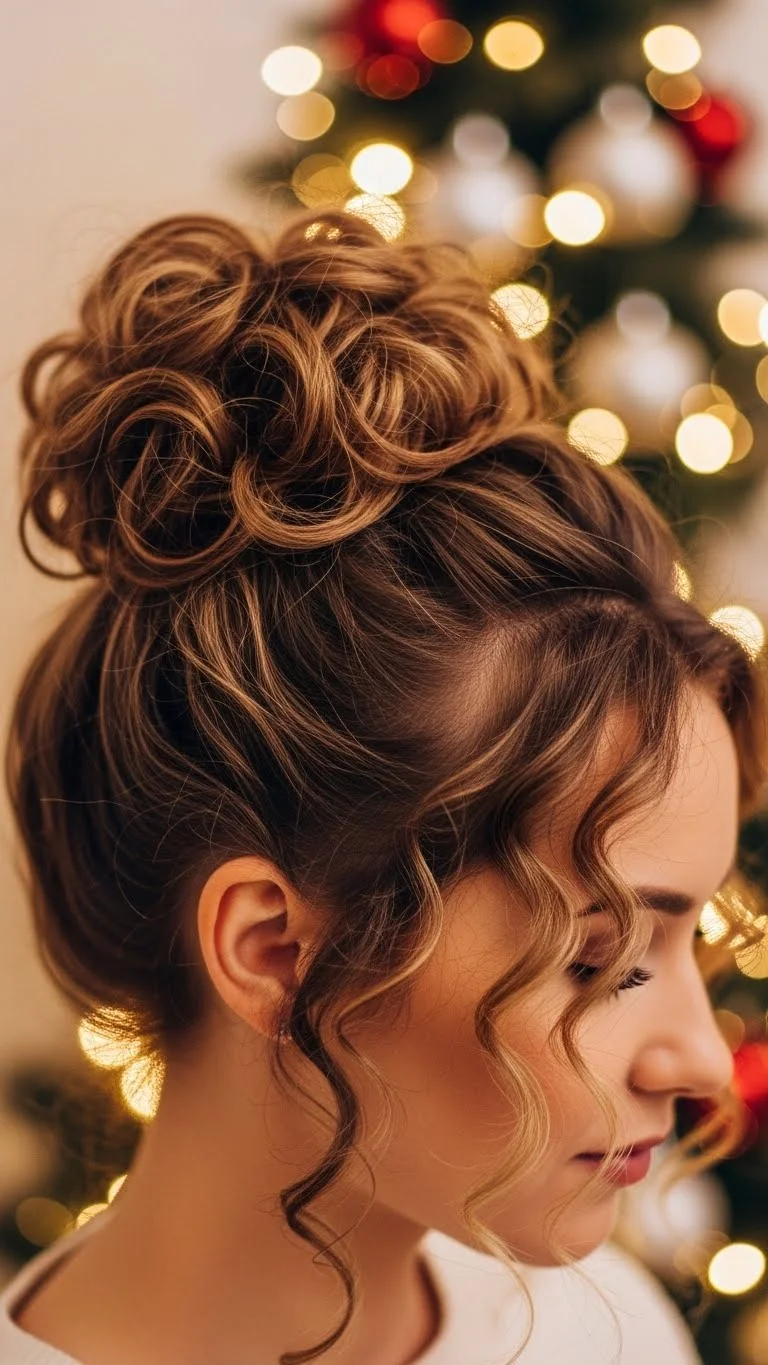
- Curly Pinecone Bun
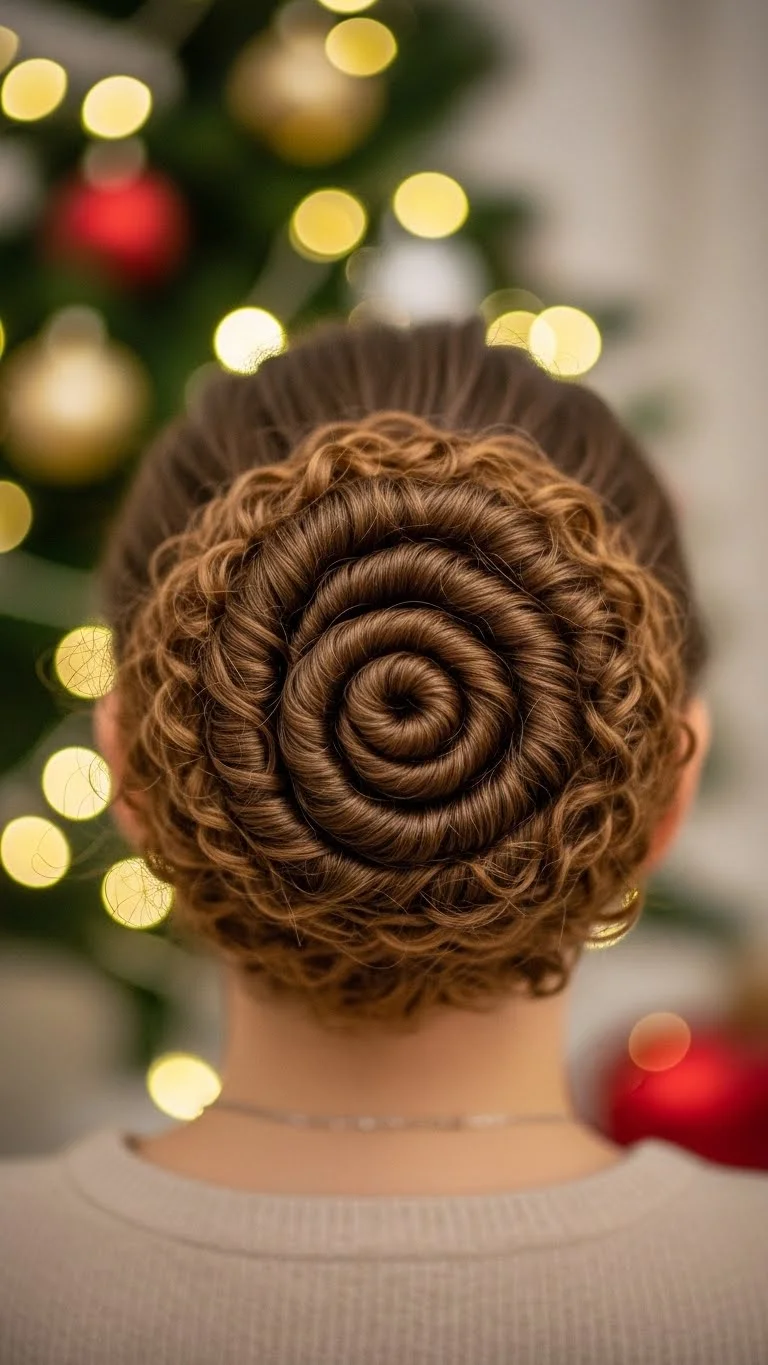
Gather your curls into a mid-height bun and let the natural texture stack up. It creates a pinecone shape without much effort. Scoop your hair gently and secure it with a soft scrunchie. Tuck a few curls outward instead of hiding them. This keeps the look airy. A simple drugstore gel can hold the edges. Use just a pea-size amount. You can wrap a thin ribbon around the scrunchie to add holiday charm. If your curls shrink a lot, stretch them slightly with your fingers before placing them in the bun. Add one or two small clips for extra hold. If your hair is shorter, create a mini bun and let ringlets fall around it. It’s comfy, quick, and great for last-minute plans.
- Snow-Kissed Curly Ponytail
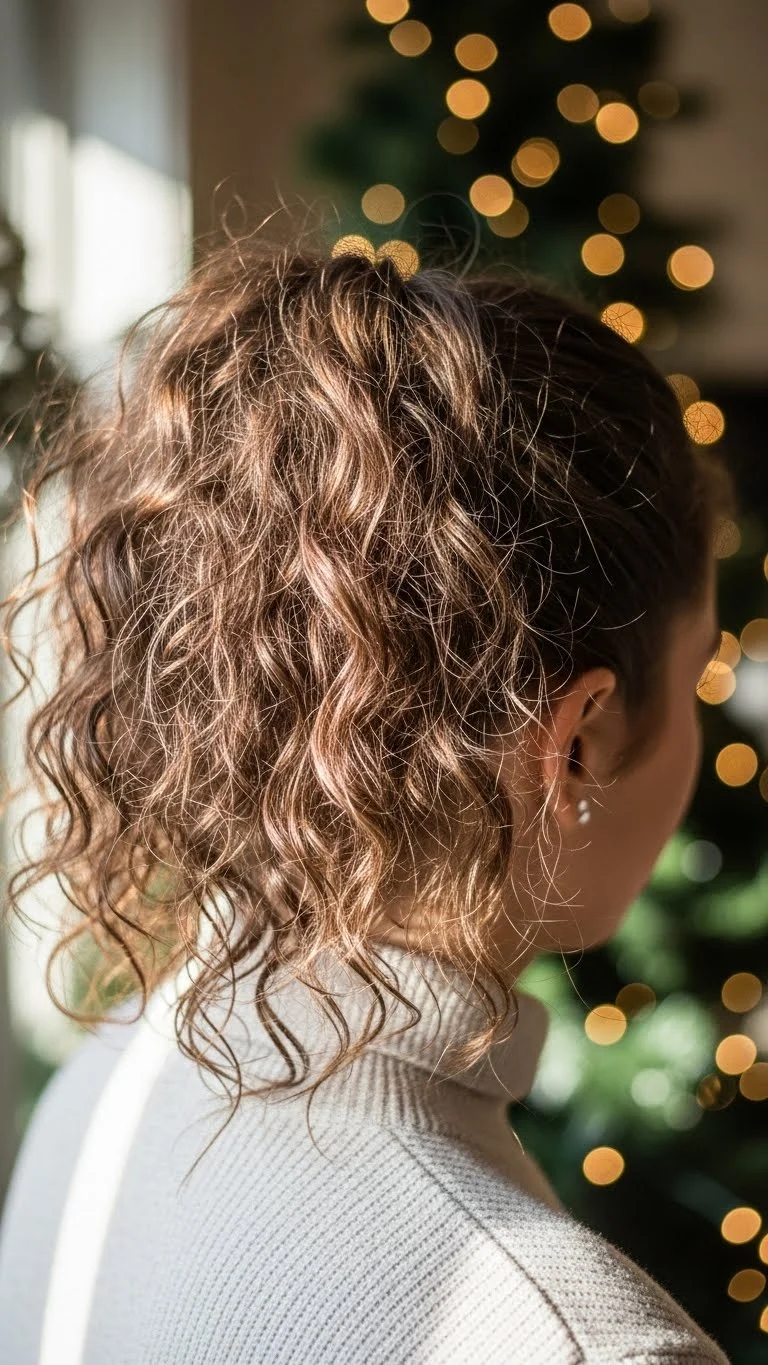
Pull your curls into a high ponytail and let the spirals fall freely. Use a soft brush only on the roots, not through the curls. Wrap a small strand around the hair tie to hide it. The ponytail naturally looks fun because curls have lift on their own. If you want a “snow-kissed” style, dab a tiny bit of shimmer cream on your hands and lightly tap the outer curls. Choose a shimmer that costs just a few dollars; you don’t need anything fancy. Keep the ponytail loose enough so you don’t lose volume. Leave two small pieces out near your temples for softness. Perfect for holiday parties or quick photos by the tree.
- Candy-Cane Curly Pigtails
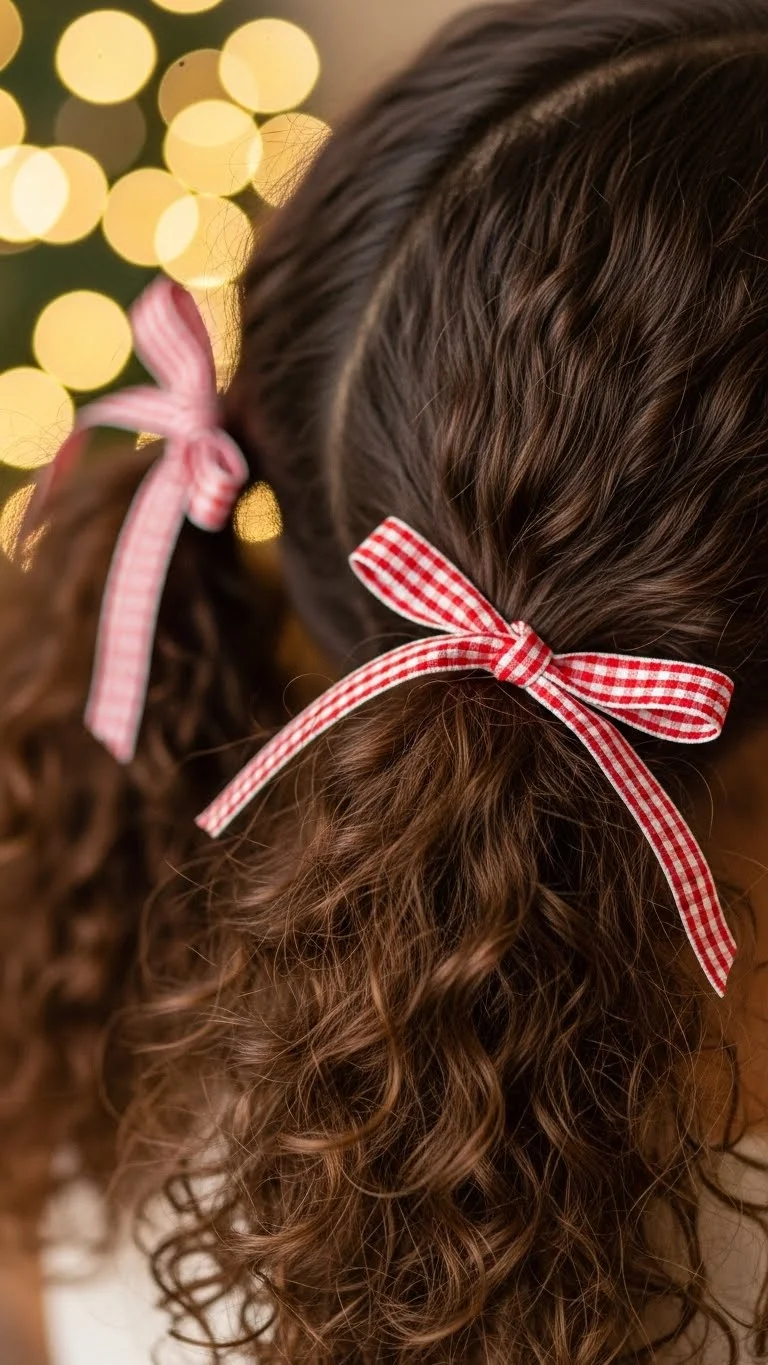
Split your hair down the center and create two mid-height pigtails. Let the curls fall naturally. Add red and white ribbons around each hair tie. The style feels fun, youthful, and very holiday-ready. Keep the roots smooth with a tiny bit of mousse. If you want extra bounce, scrunch your ends with a cheap curl foam. Keep the ribbons simple; thin ribbon works best so it doesn’t weigh down the curls. For shorter curls, make small puffs instead of pigtails. For longer curls, twist each pigtail once before securing the ribbon. It makes them look fuller with almost no effort.
- Curly Angel Crown Braid
Take a section behind one ear and braid it across the top of your head. Secure behind the other ear with small pins. Leave the rest of your curls loose. This gives a halo effect that matches holiday vibes nicely. A basic drugstore hairspray is enough for this style. Mist only the braid so it holds the shape. Keep the loose curls fluffy by avoiding heavy products. Use a tiny bit of curl refresher spray if you want lift. If your hair is shorter, braid a smaller section and pin it closer to the hairline. For a soft touch, tuck a tiny gold clip into the braid.
- Evergreen Curly Low Side Bun
Sweep your curls to one side and loosely gather them into a low bun. Don’t twist too tightly; let curls stick out. Add one or two small green pins or a simple ribbon for a holiday theme. Use a tiny amount of gel on the roots if you want a cleaner look. For a soft look, skip the gel and let flyaways frame your face. If your curls are long, wrap the bun once. If they’re short, gather them gently and secure with multiple bobby pins. Add a touch of shine spray if you want sparkle in photos. This style works well with big sweaters and warm gatherings.
- Curly Reindeer Bun
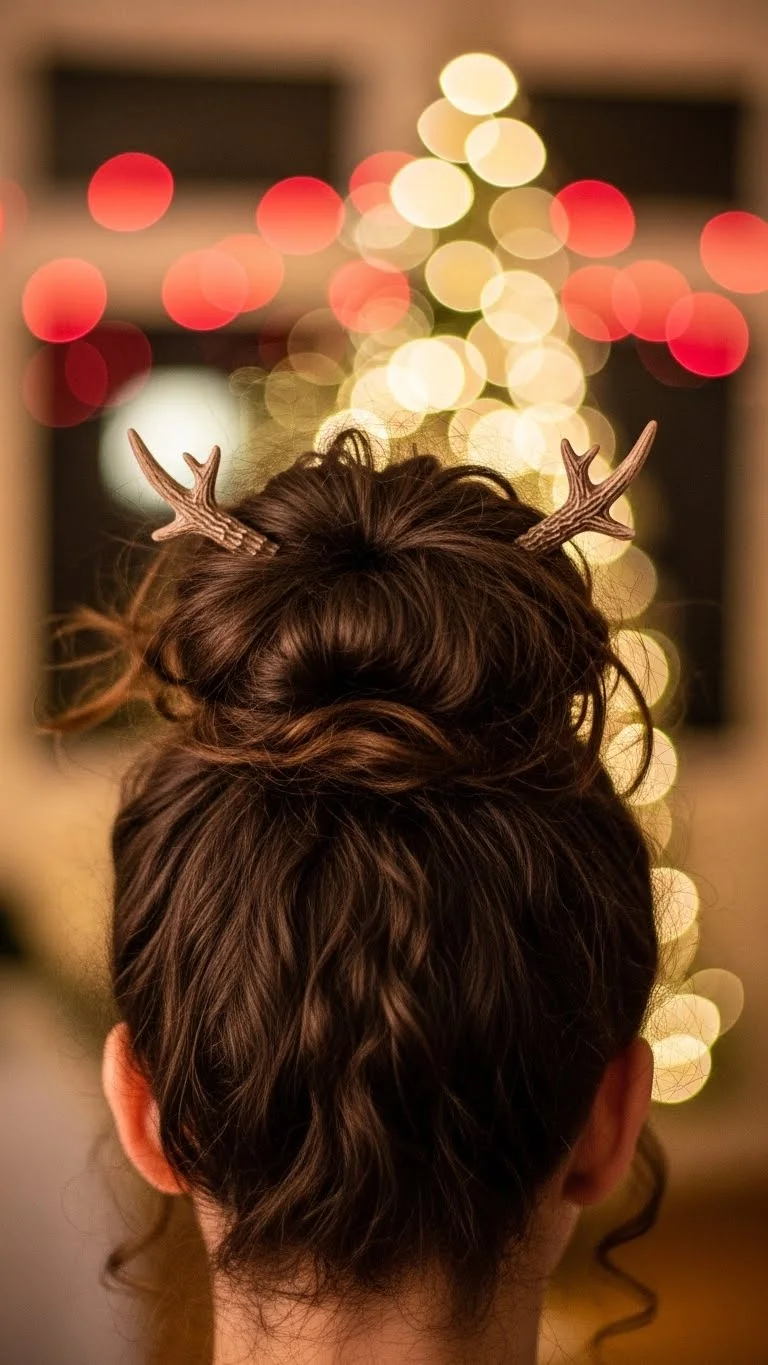
Put your curls into a high bun and leave some spirals loose in front. Clip small faux antlers on each side of the bun. It’s fun and perfect for parties where you want something lighthearted. Keep the bun soft; don’t twist too tightly or you’ll lose curl shape. Use bobby pins to lift the bun upward for extra height. Add a tiny red ribbon if you want a Rudolph touch. A cheap edge brush works great for smoothing small areas. For shorter curls, make a smaller top knot and place antlers closer together. For long curls, let a few pieces fall down the back for movement.
- Curly Ribbon Cascade
Take a long ribbon and weave it loosely through your curls. Start near the crown and let it fall through the length. It gives a gentle waterfall effect. Choose a soft ribbon that costs little. Silk-like textures glide best. Don’t pull too tightly; the ribbon should sit lightly on the curls. If your curls tangle easily, weave using your fingers, not a comb. If your hair is shorter, weave only through the top layer. Add a single pin at the top if the ribbon slips. Finish with a gentle spritz of water to refresh curl shape.
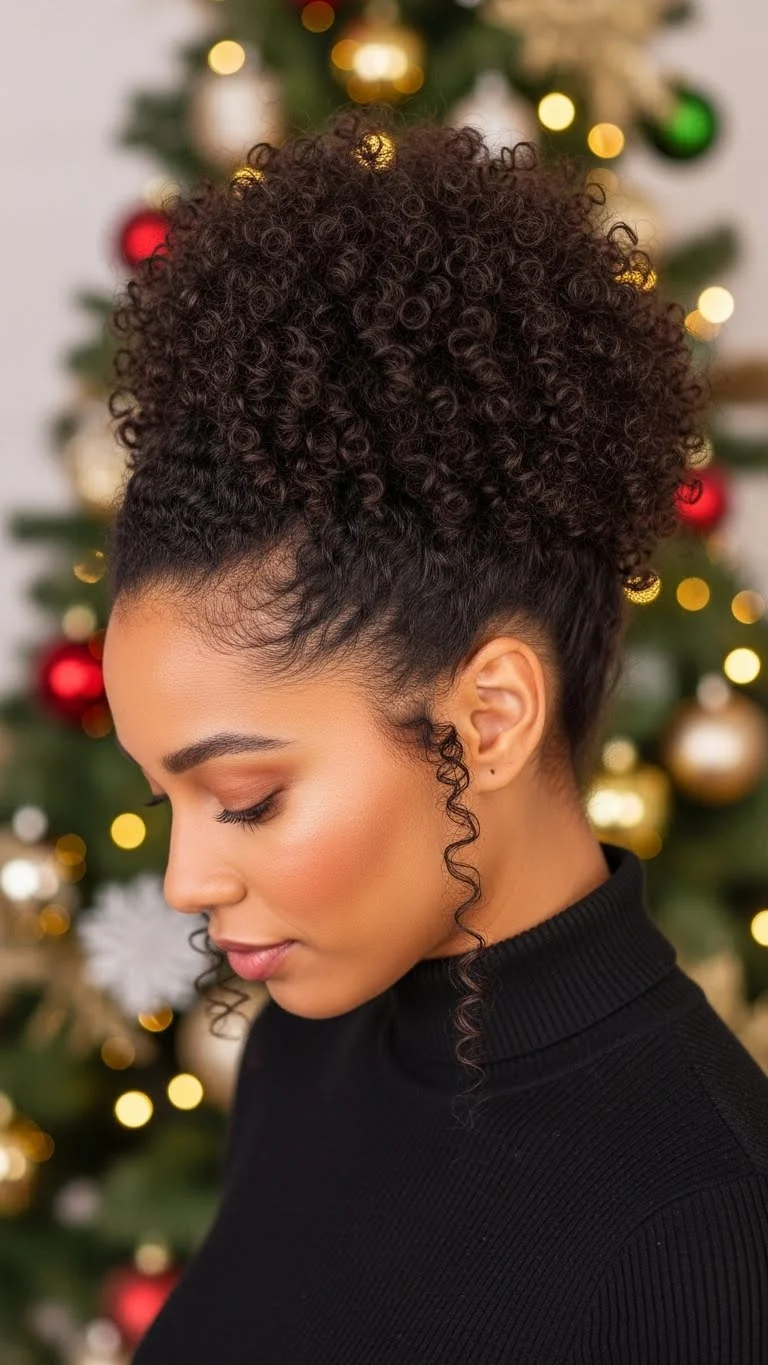
- Curly Winter Halo Puff
Gather your curls at the crown. Secure with a soft elastic made for curly hair. Fluff the curls upward to make a rounded puff. This style highlights natural volume without complicated steps. Use a little water and curl cream to smooth the sides. Keep the product light. Add a metallic scrunchie for a holiday look. If you want extra lift, stretch your roots gently before securing the puff. If your hair is long, tuck the ends inside the puff for a rounder shape. If it’s short, let the curls stand freely. This style works great with bold earrings.
- Curly Frosted Ends Twist
Divide your hair into two loose front twists and let the rest fall freely. Twist each side backward and secure with a pin. Leave the ends out so the curls look soft. To create a frosted effect, tap a tiny bit of shimmer on the tips. Use shimmer makeup you already have. Avoid heavy products so your curls stay light. For shorter hair, create mini twists. For long hair, make thicker twists. A quick spritz of water refreshes the curls instantly. Perfect for casual gatherings.
- Curly Holly Clip Updo
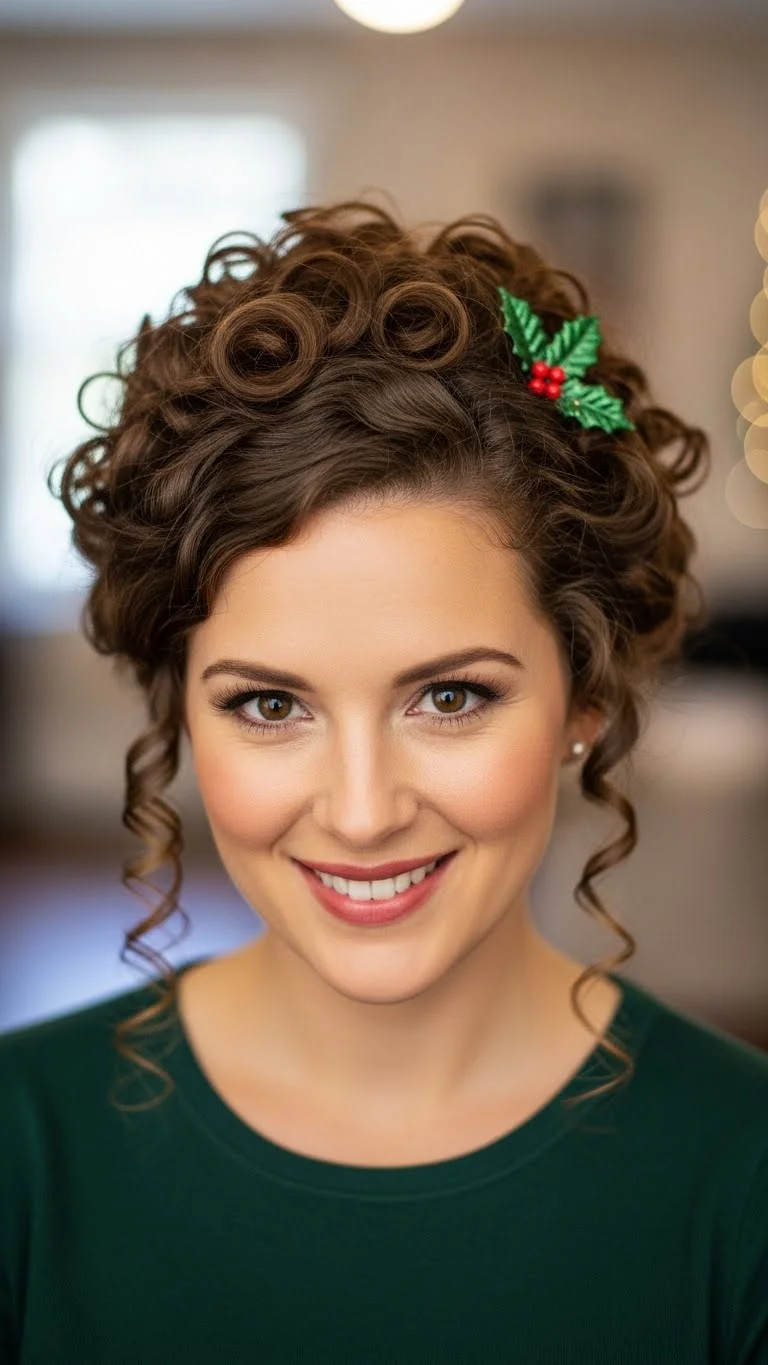
Pin your curls upward from the nape to the crown. Let a few curls fall around your face. Add a small holly-style clip for a festive touch. Use cheap metal pins; they grip well. If you want structure, apply a tiny amount of mousse before pinning. Keep the top loose so your curls keep their shape. For shorter curls, pin only the lower half. For longer curls, pin in small sections for better hold. Add a spritz of light hairspray if you want extra staying power through the evening.
- Curly Snowflake Side Sweep
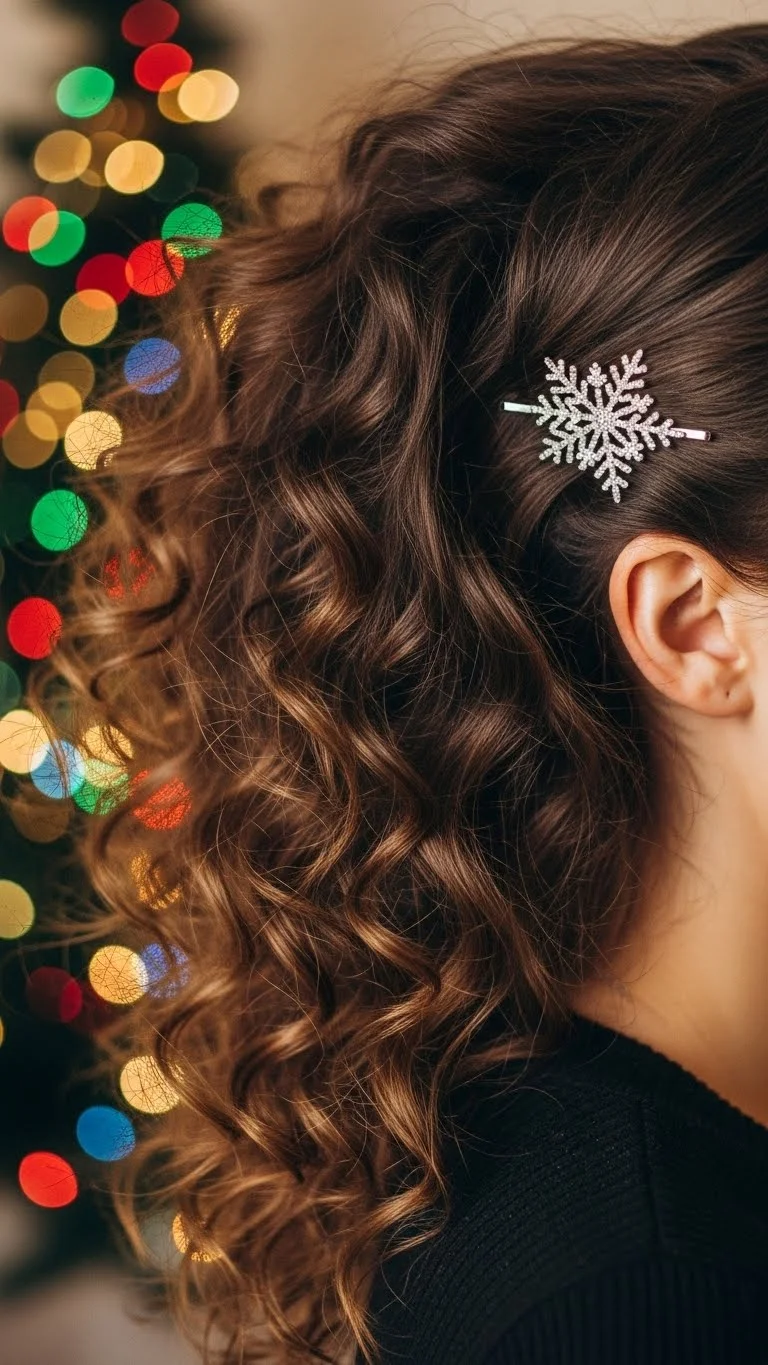
Sweep your curls to one side and secure with a cute snowflake clip. Leave the rest loose. This gives a soft, romantic shape perfect for cozy gatherings. Use a basic curl refresher spray to revive texture. Choose an inexpensive clip; it doesn’t need to be fancy. For shorter curls, sweep only the top section. For longer curls, let the curls fall over one shoulder. If you want extra volume, shake out the roots. Keep the side placement light, not tight.
- Gingerbread Curly Top Knot
Place your curls in a high top knot. Keep it loose so curls peek out. Let a few spirals fall around your face. The warm shape feels cozy, like gingerbread baking in the background. Use a soft scrunchie to avoid pulling. For more texture, scrunch the ends with water. If your curls fall flat, use a tiny amount of gel on the roots. For shorter curls, make a mini top knot. For longer curls, wrap only halfway so the ends create volume. Add a thin ribbon for holiday flair.
- Curly Star Accessory Spread
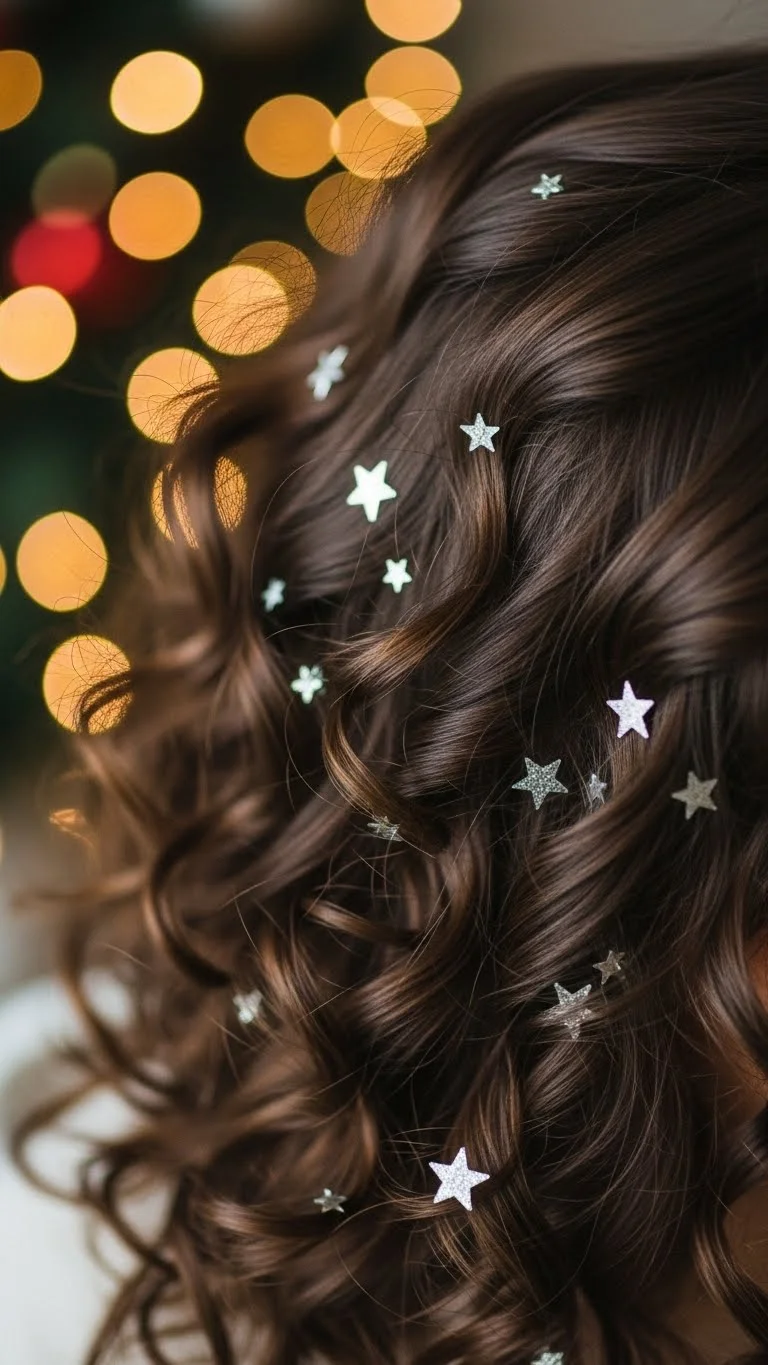
Sprinkle tiny star clips or pins through your curls. Place them randomly so it looks natural. Keep the base style simple—loose curls work best. Choose cheap star clips; you only need a few. Avoid heavy accessories. If your hair is long, place stars throughout the middle section. If it’s short, place them near the crown. Lightly shake your curls so the stars sit softly. Refresh your curls with a bit of water, not heavy cream. The look is playful and perfect for photos.
- Curly Velvet Headband Style
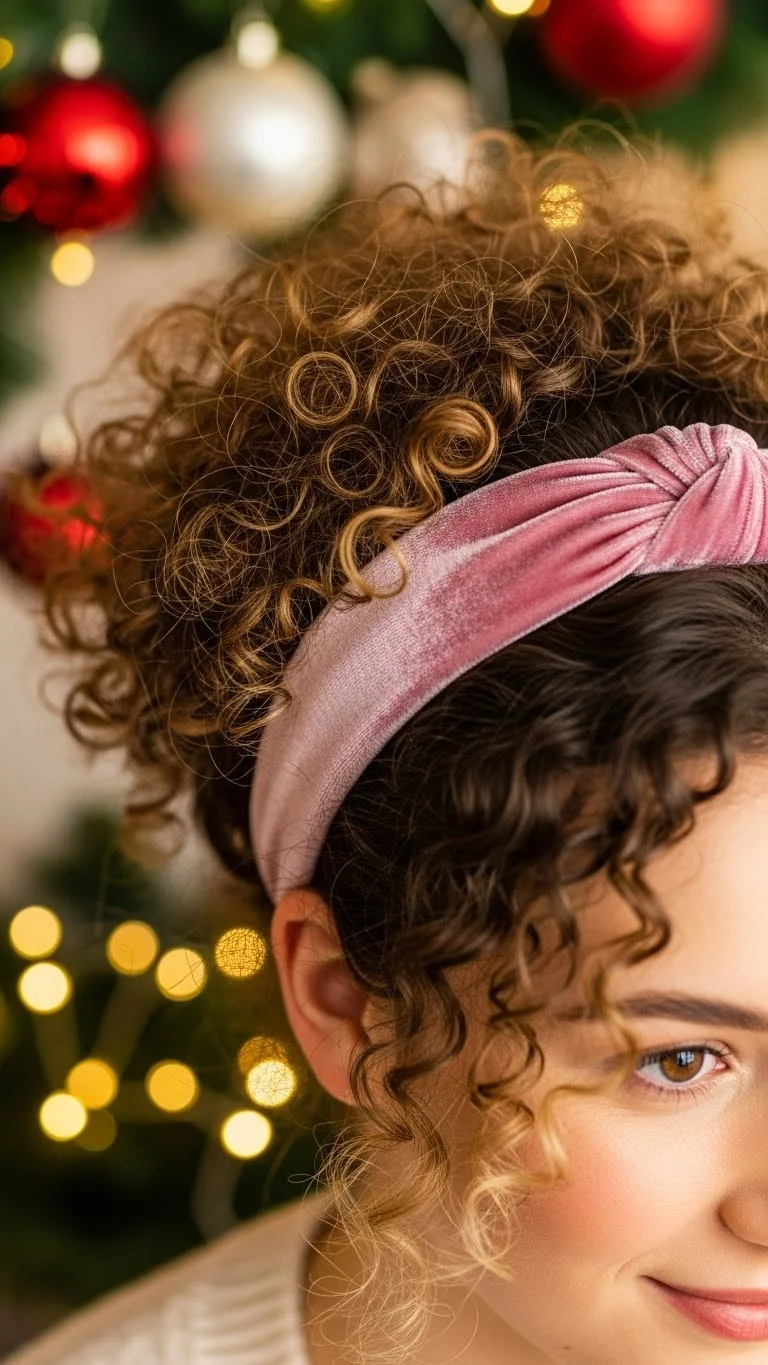
Slide on a velvet headband and let your curls frame your face. The headband adds holiday warmth without much effort. Choose a low-cost velvet band in deep tones like red or green. Fluff the curls around the band for fullness. If your curls are limp, add a small amount of foam at the ends. For shorter hair, pick a thinner band. For longer hair, use a wider one so it stays in place. This style works great on busy days when you want something quick.
- Curly Holiday Side Puff
Gather your curls to one side and secure them above the ear. Make a round puff shape. Leave curls loose around the face. Use a stretchy band so you don’t flatten the curls. Add a tiny ribbon for a festive touch. For shorter curls, create a mini puff. For longer curls, tuck the ends in for a fuller shape. Add a small spritz of water to refresh texture. This style feels relaxed and comfortable for long celebrations.
- Curly Twisted Crown Front
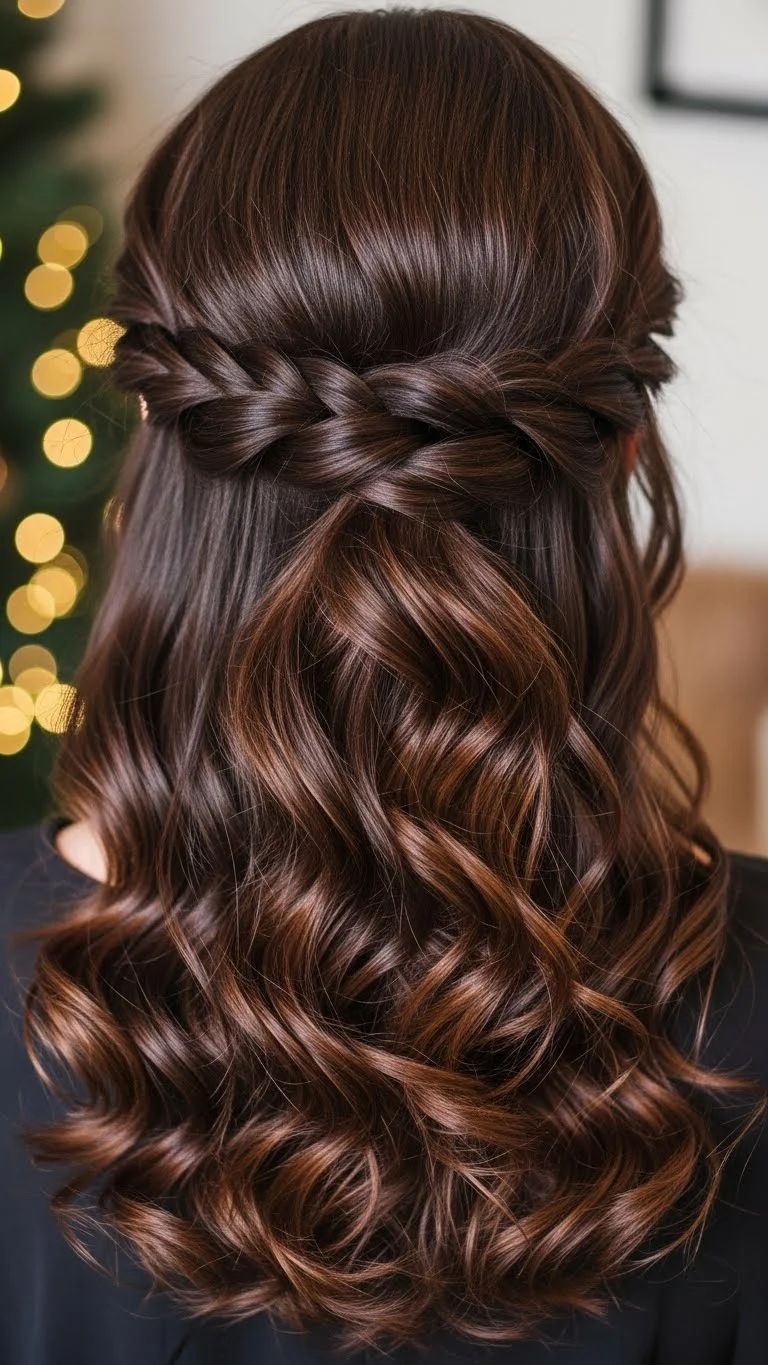
Twist two front sections toward the back. Pin them together. Leave the rest of your curls loose. This creates a simple crown effect. Use lightweight cream so the twists hold but don’t look stiff. Cheap bobby pins work fine. For shorter curls, twist smaller pieces. For long curls, twist thicker sections. Shake your curls gently to add softness. Add a small gold pin where the twists meet if you want a touch of sparkle.
- Curly Low Velvet Bow Pony
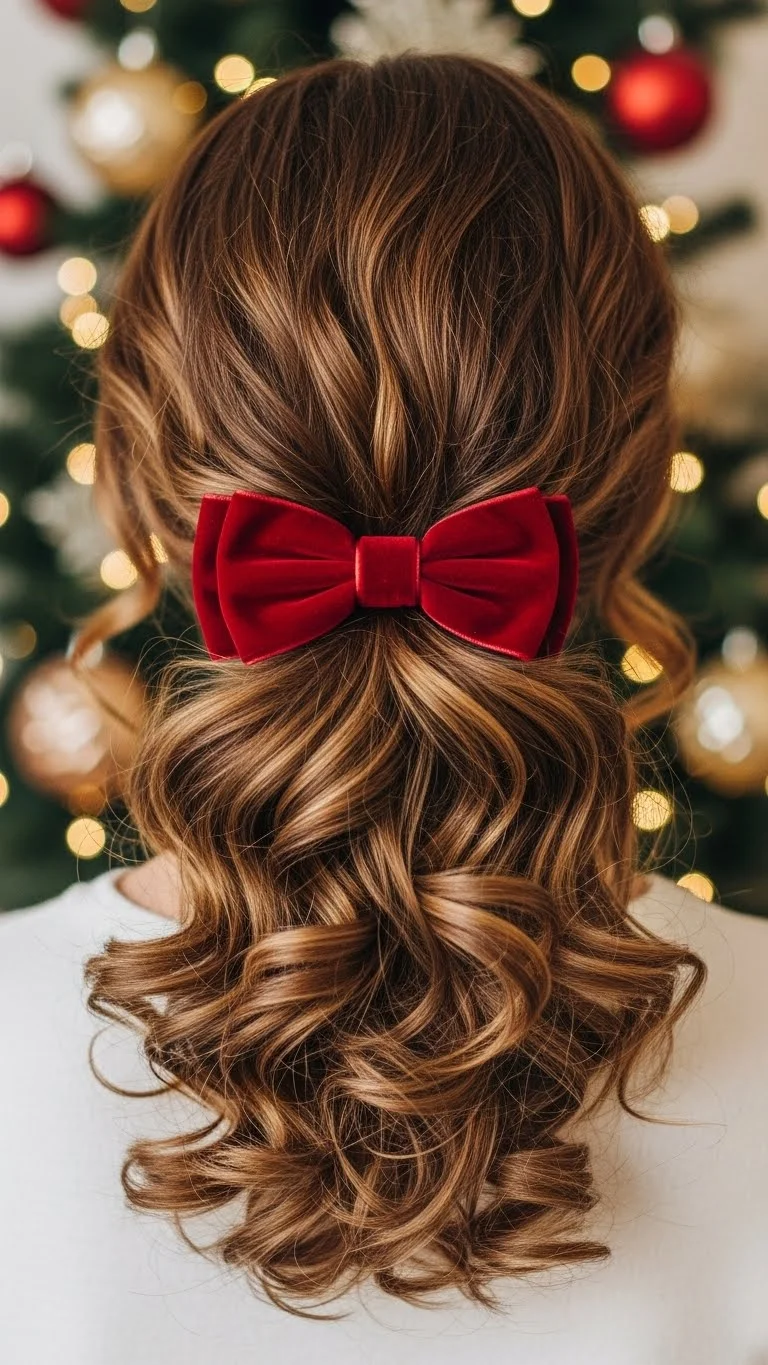
Place your curls in a low ponytail. Tie a velvet bow around the base. Let the curls fall naturally down your back. Use a soft elastic to protect your curls. If you want more shape, refresh the ends with water. Choose an affordable velvet ribbon from any craft shop. For shorter curls, create a puff instead of a ponytail. For long curls, fluff the ends for volume. Keep the roots loose so the style looks relaxed.
- Curly Twisted Side Bun
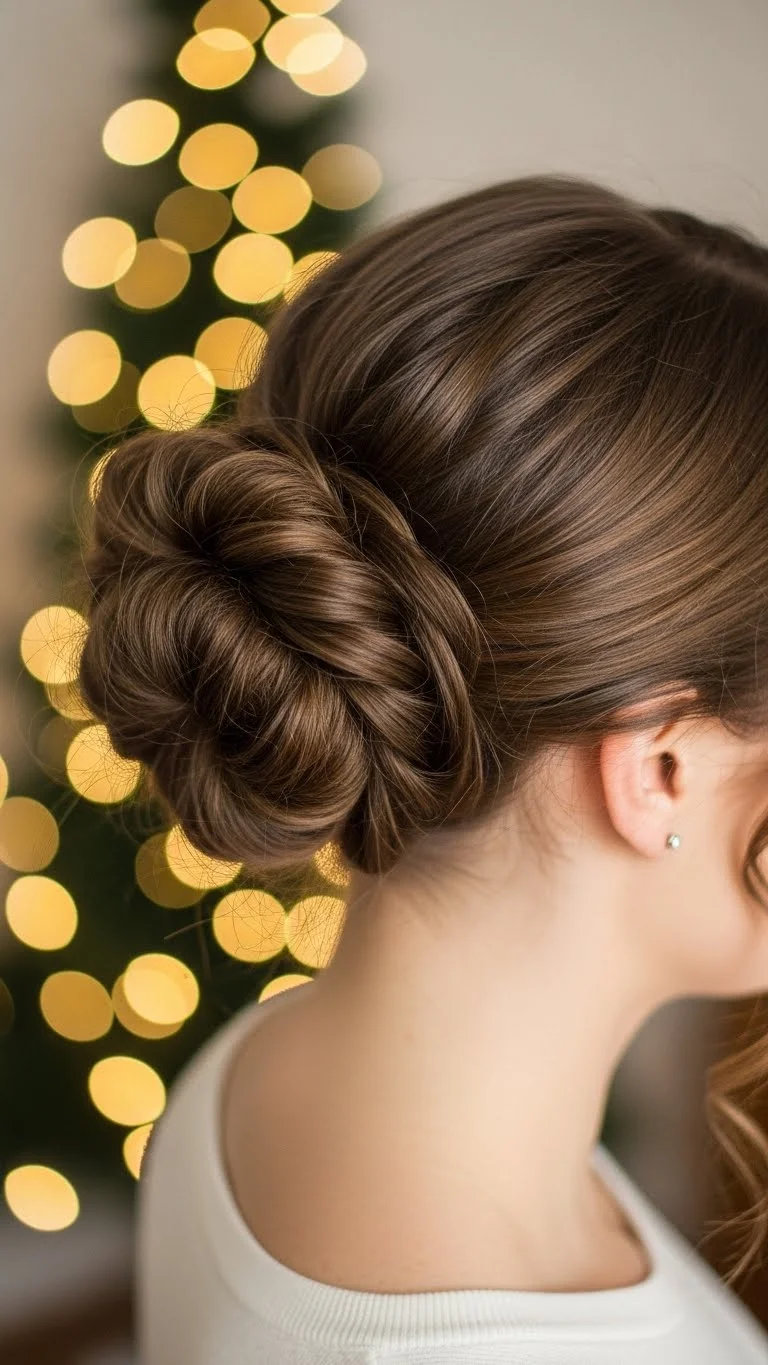
Twist two sections from each side of your head. Bring them to one side and wrap them into a loose bun. Secure with pins. Let some curls fall around your neck. Use a tiny bit of gel to smooth the sides. Keep the bun loose so curls keep their shape. For shorter curls, make a smaller bun. For long curls, wrap only halfway. Add a small ribbon or clip for a holiday finish. A cheap shimmer mist can add sparkle if you like.
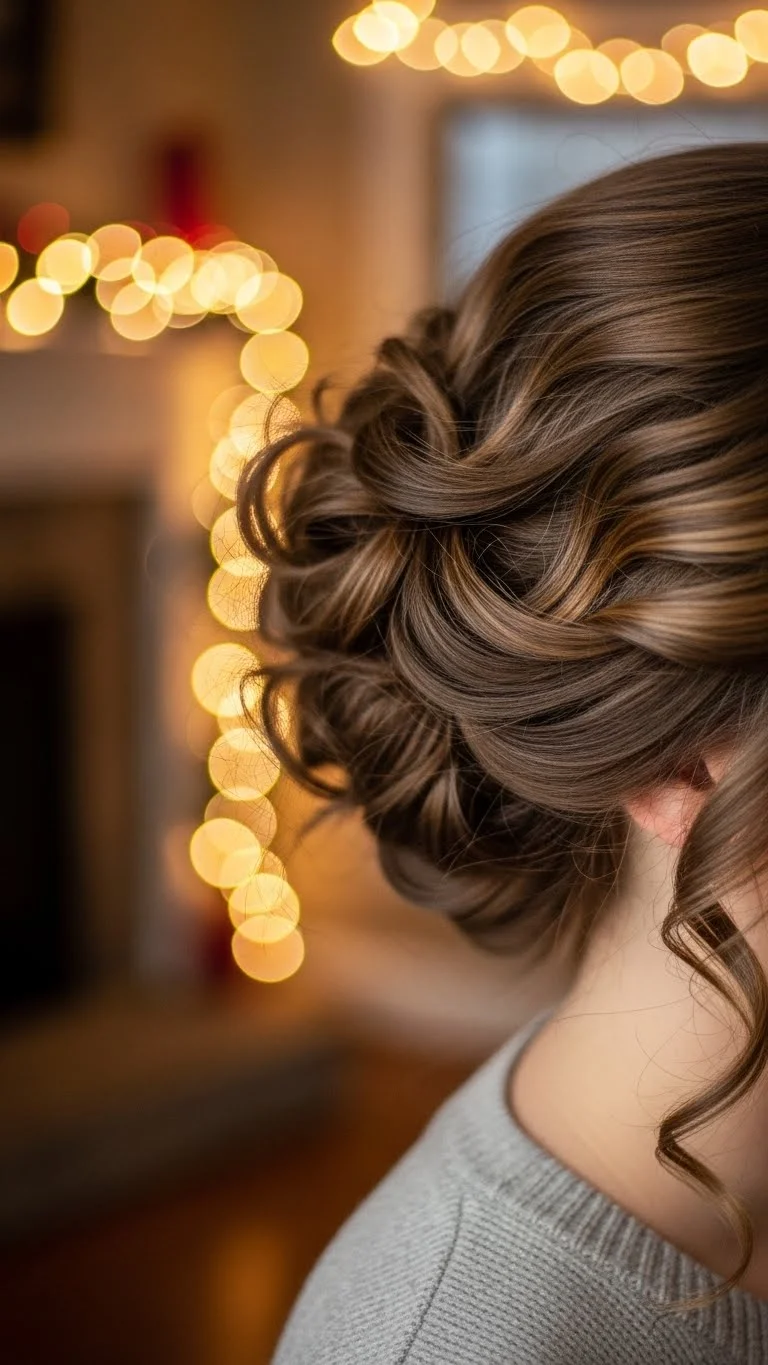
- Curly Holiday Messy Layered Updo
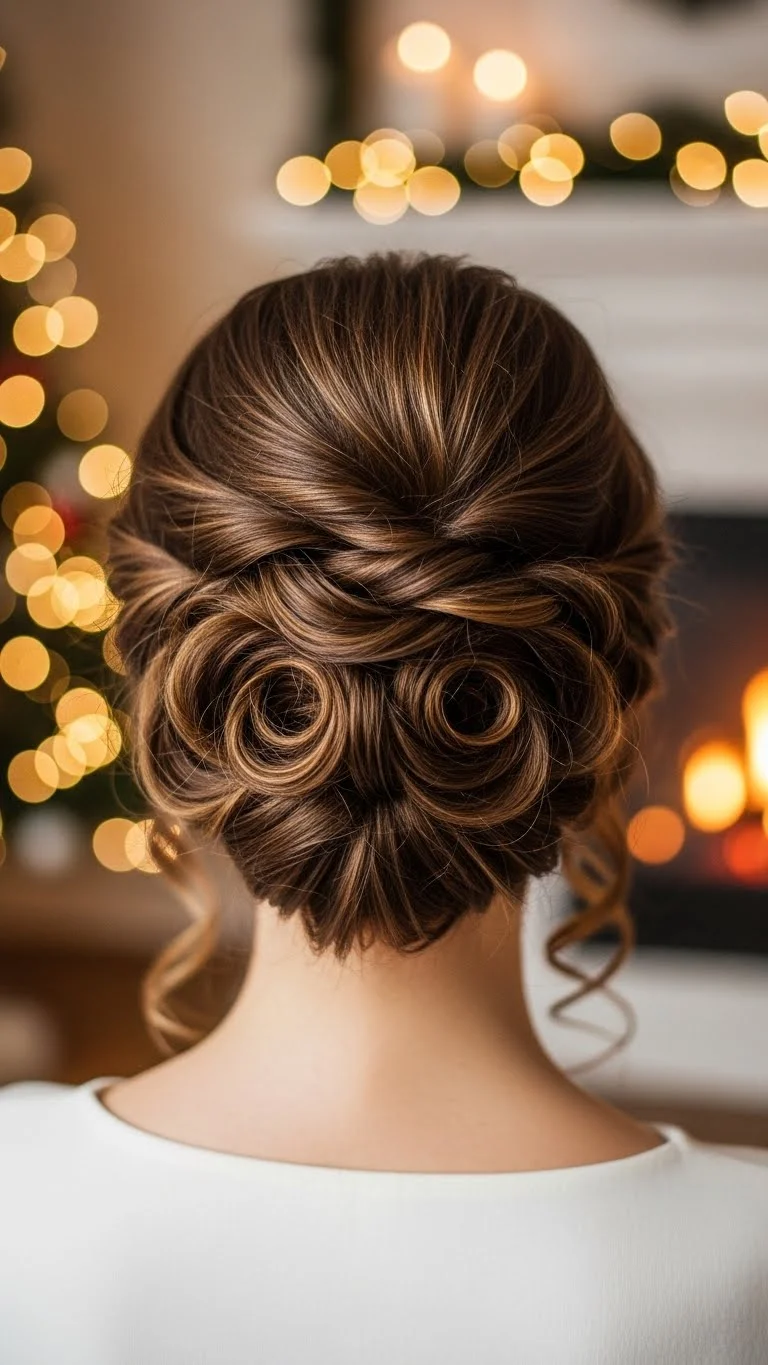
Pin your curls upward in layers. Start from the bottom and work up to the crown. Leave some curls free for softness. The updo looks textured without requiring perfect placement. Use low-cost metal pins; they hold best. Mist your hair with water before pinning for better control. For shorter curls, pin fewer sections. For long curls, pin in small chunks so each curl stays defined. Add a tiny accessory near the crown for holiday shine. It’s great for dinners, parties, or any dressy moment.
Conclusion
Curly hair naturally brings life to holiday styles, and small changes make a big difference. These ideas rely on simple tools, light products, and gentle techniques you can do at home. Try one for casual gatherings or mix a few for bigger events. Let your curls stay soft, expressive, and comfortable while you enjoy the season.