30 Braided Christmas Hairstyles That Make a Statement

Holiday styles often lean cozy, sparkly, and a little playful. Braided Christmas hairstyles match that mood perfectly. They add shape, volume, and charm without requiring pricey products or salon-level skills. This guide walks you through simple styles that look polished while staying realistic for busy days. Each idea offers quick tricks, low-cost tools, and easy ways to personalize your look at home.
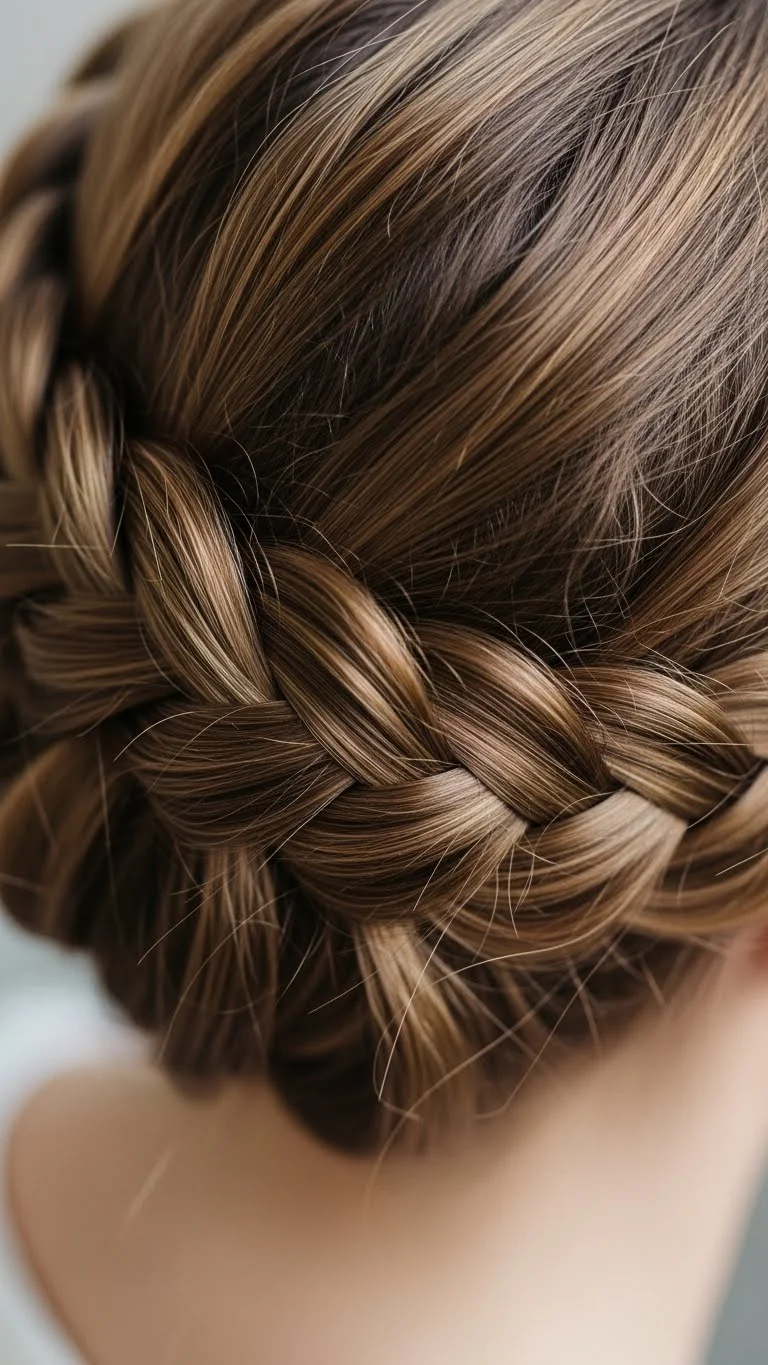
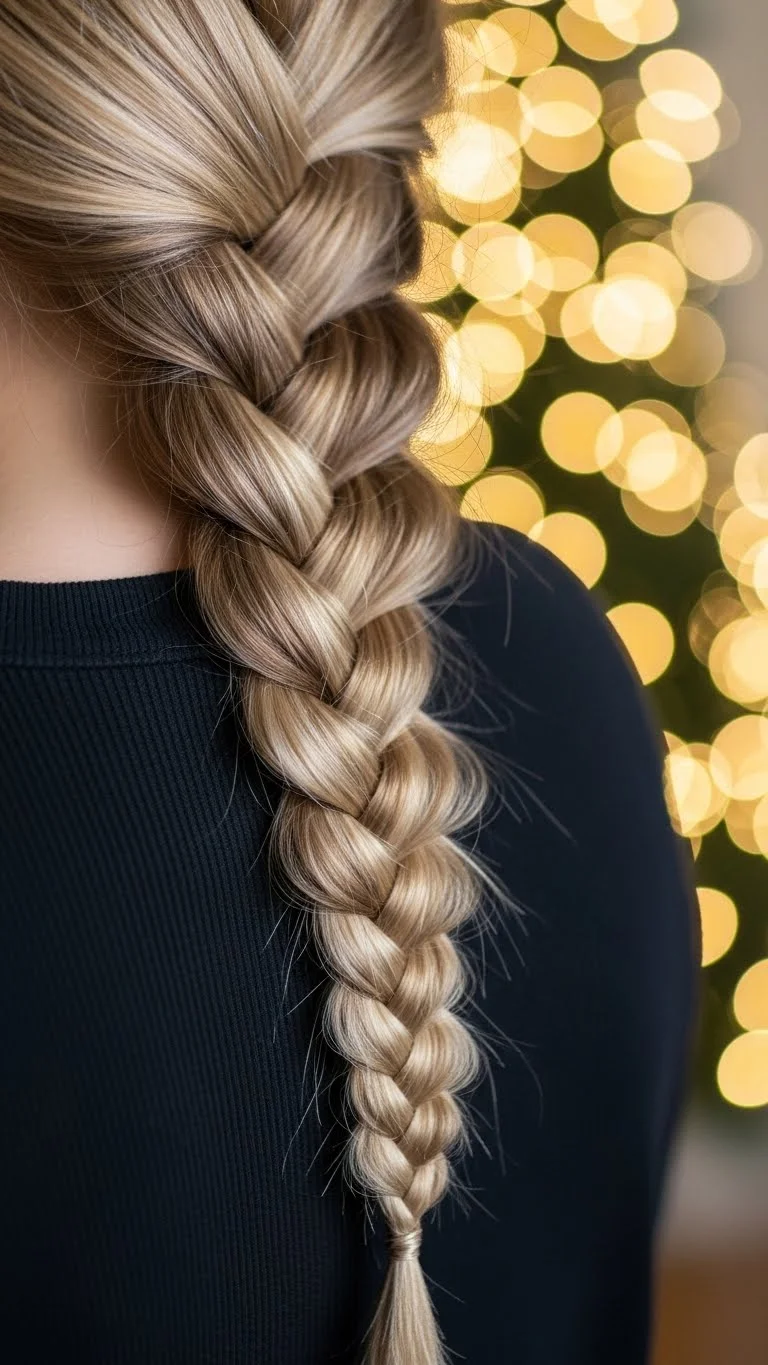
- Classic Christmas Dutch Braid
A Dutch braid works well for long or medium hair. Start with clean, brushed strands. Work the braid tightly at the crown, then loosen small sections to create soft texture. Slip in tiny red or gold pins for a festive touch. This style holds up through parties or errands. If your hair is fine, mist a light spray before braiding. It helps the sections stay put without clumps. You can also add a ribbon at the end for color. Use an affordable satin ribbon roll and cut small pieces as needed. If your braid looks flat, gently tug the edges for thickness. It takes seconds and adds dimension. This look pairs well with sweaters, dresses, or simple winter outfits.
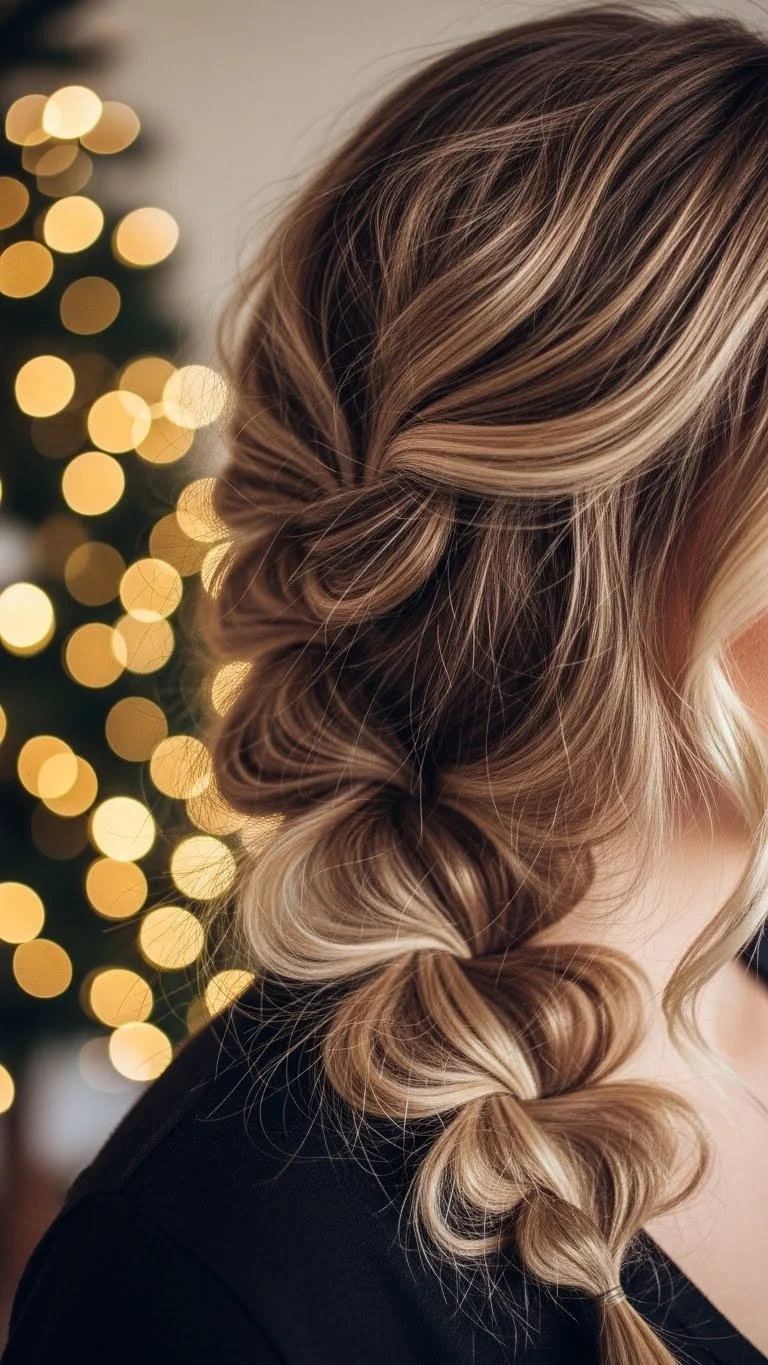
- Holiday Bubble Braid

A bubble braid gives volume without tricky weaving. Start with a low ponytail. Add elastic bands every few inches down the length. Puff out each section by pulling gently. Add mini bows or metallic ties for a seasonal feel. Use soft elastics so they don’t snag. This works even on second-day hair. If you want extra grip, add a tiny bit of dry shampoo before tying. For shorter hair, do two bubble braids instead of one. It looks playful and holds all evening. You can match the ribbon color with your outfit for a clean, cohesive vibe.
- Ribbon-Laced Side Braid
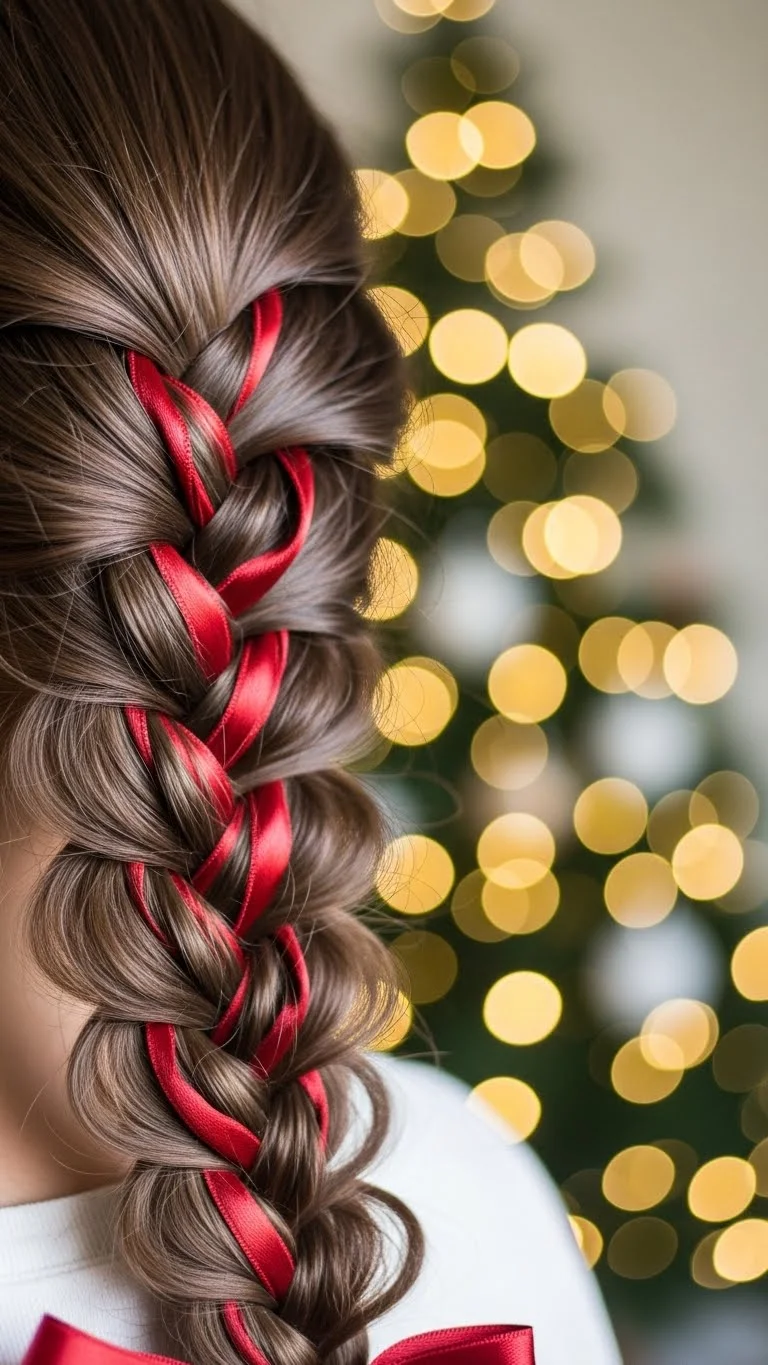
This braid brings color into your look without heavy accessories. Pick a ribbon that’s soft and thin. Start a loose side braid and thread the ribbon through each pass. Keep your grip steady so the ribbon sits evenly. If it slips, pin the top with a bobby pin hidden under hair. This style works well on medium or long strands. It also frames the face nicely. You can curl the front pieces for a softer outline. If your budget is tight, repurpose gift-wrap ribbon. It’s light, flexible, and easy to secure. Finish with a tiny bow near the end for a festive vibe.
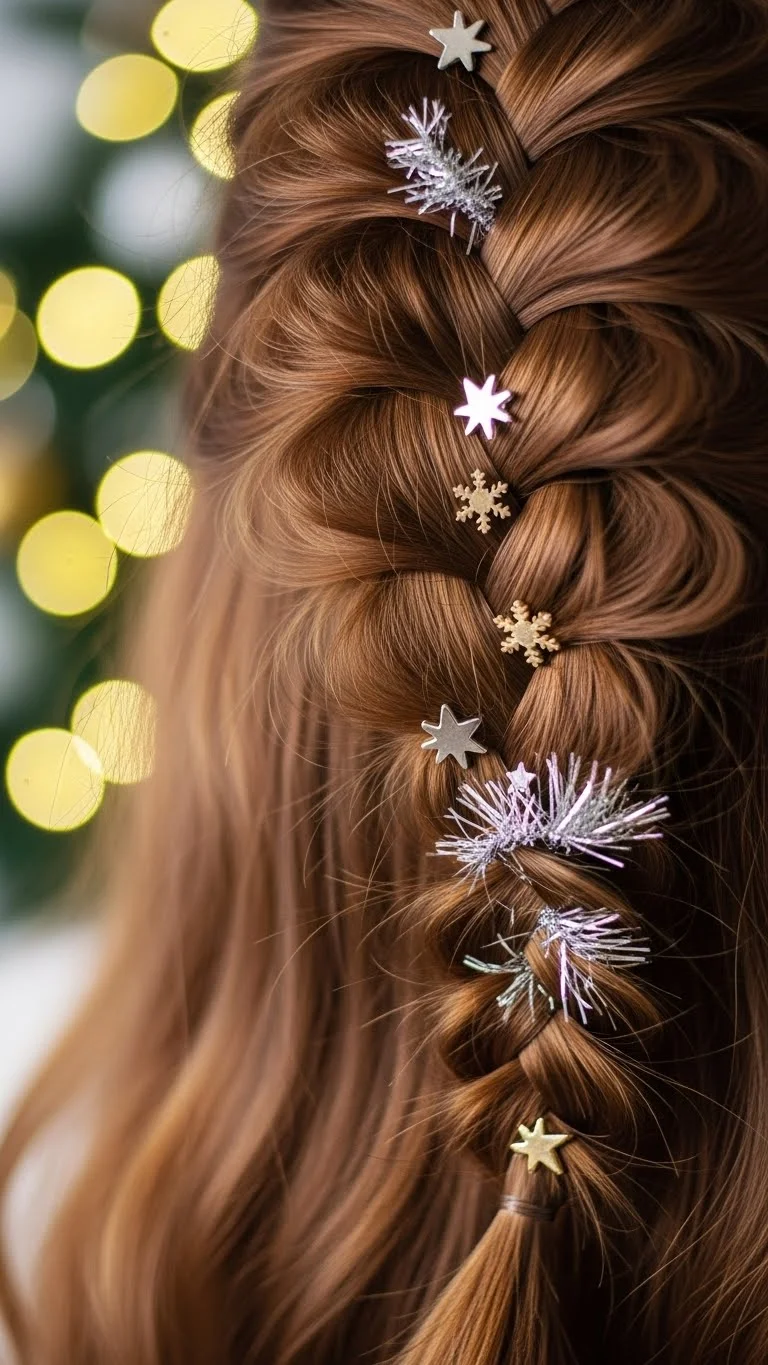
- Snowflake Accent Braid
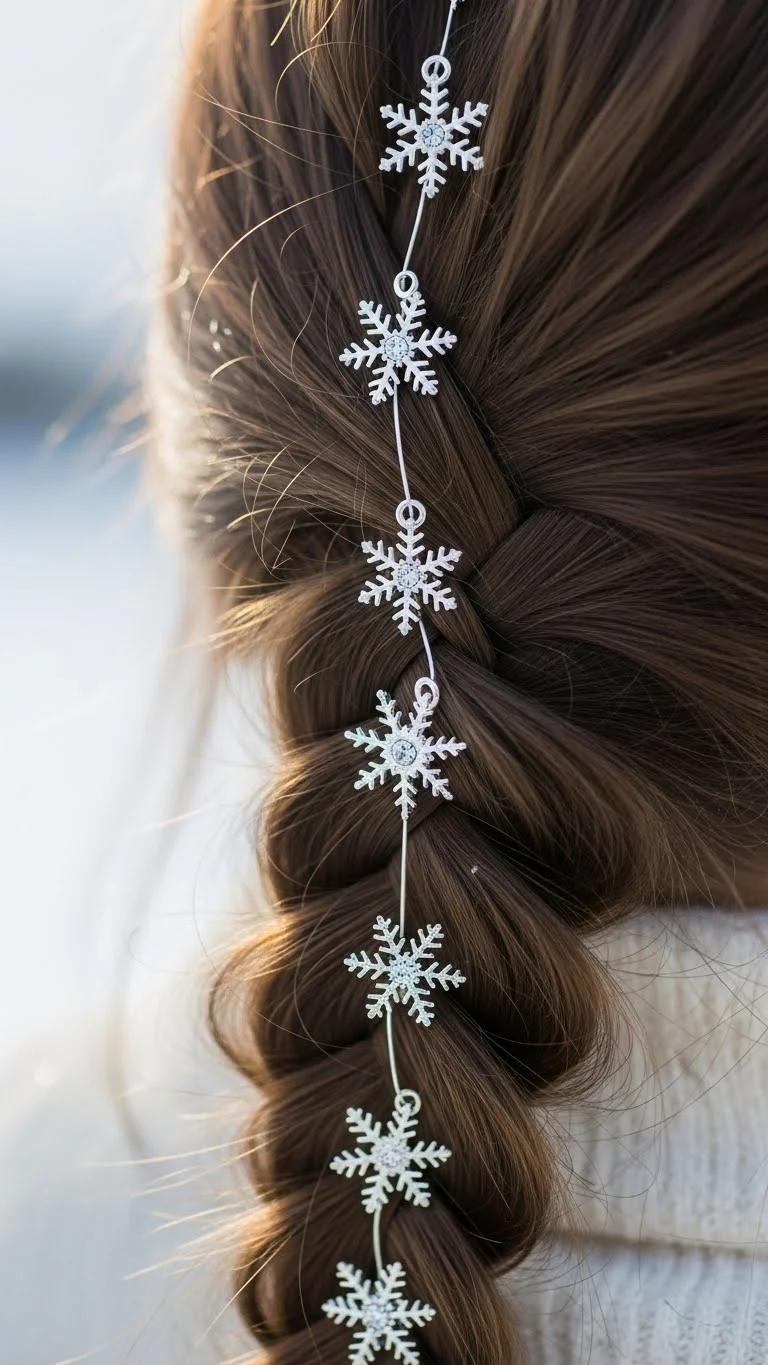
Add snowflake clips or charms for a winter-inspired look. They’re inexpensive and easy to attach. Start with a loose three-strand braid. Place one charm near the top and two near the middle. Avoid weighing the braid down with too many pieces. Keep the rest of the hair simple so the accents stand out. You can pick silvery or pearly charms for a soft glow. If your hair is thick, secure each charm with an extra pin. This style works well for both casual days and holiday gatherings.
- Braided Low Bun
A braided low bun looks polished but doesn’t require complicated steps. Start with a loose braid. Wrap it into a bun and pin around the base. Leave a few strands loose around the face for softness. For a holiday twist, add a sparkly clip behind one ear. This look stays comfortable for long nights. If you want a bit more hold, spray the bun lightly. You can also add a thin ribbon around the bun’s base. It adds color without extra weight. This style works well on medium or long strands.
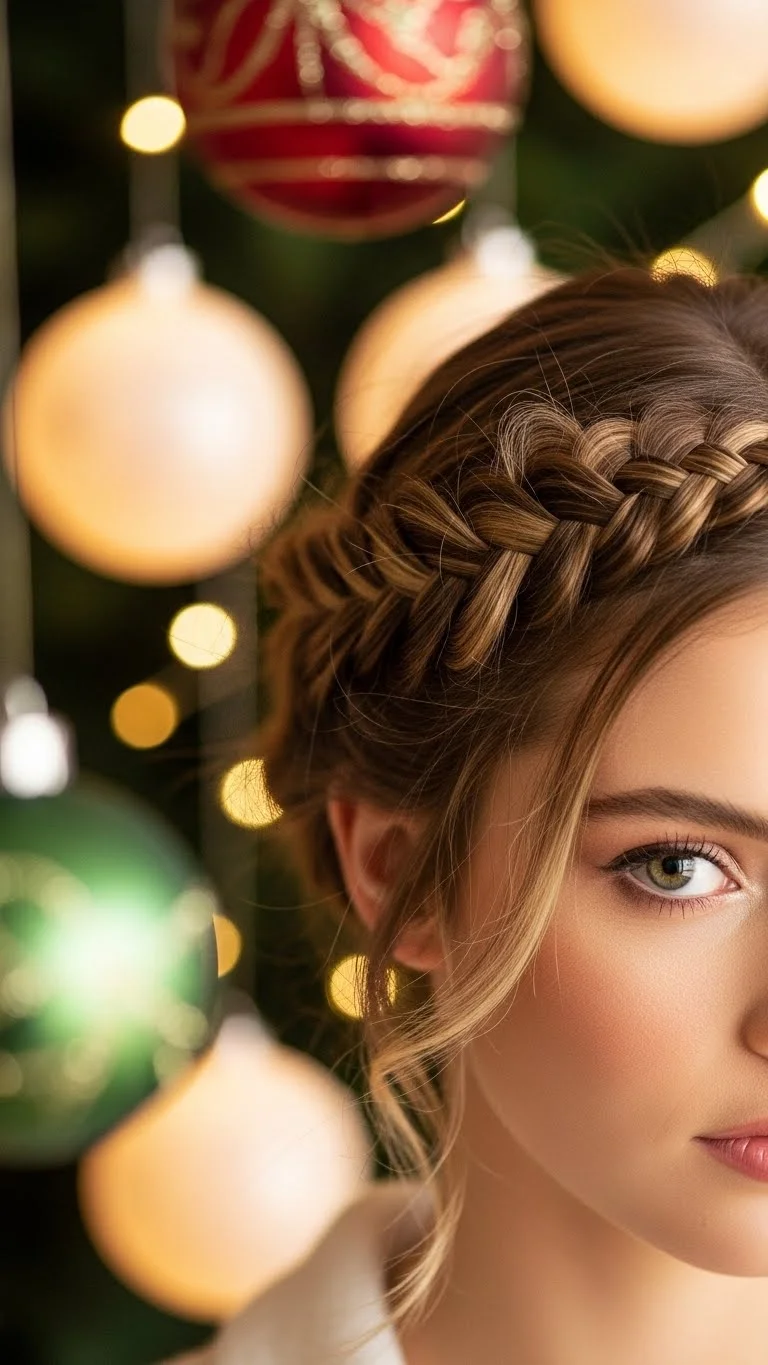
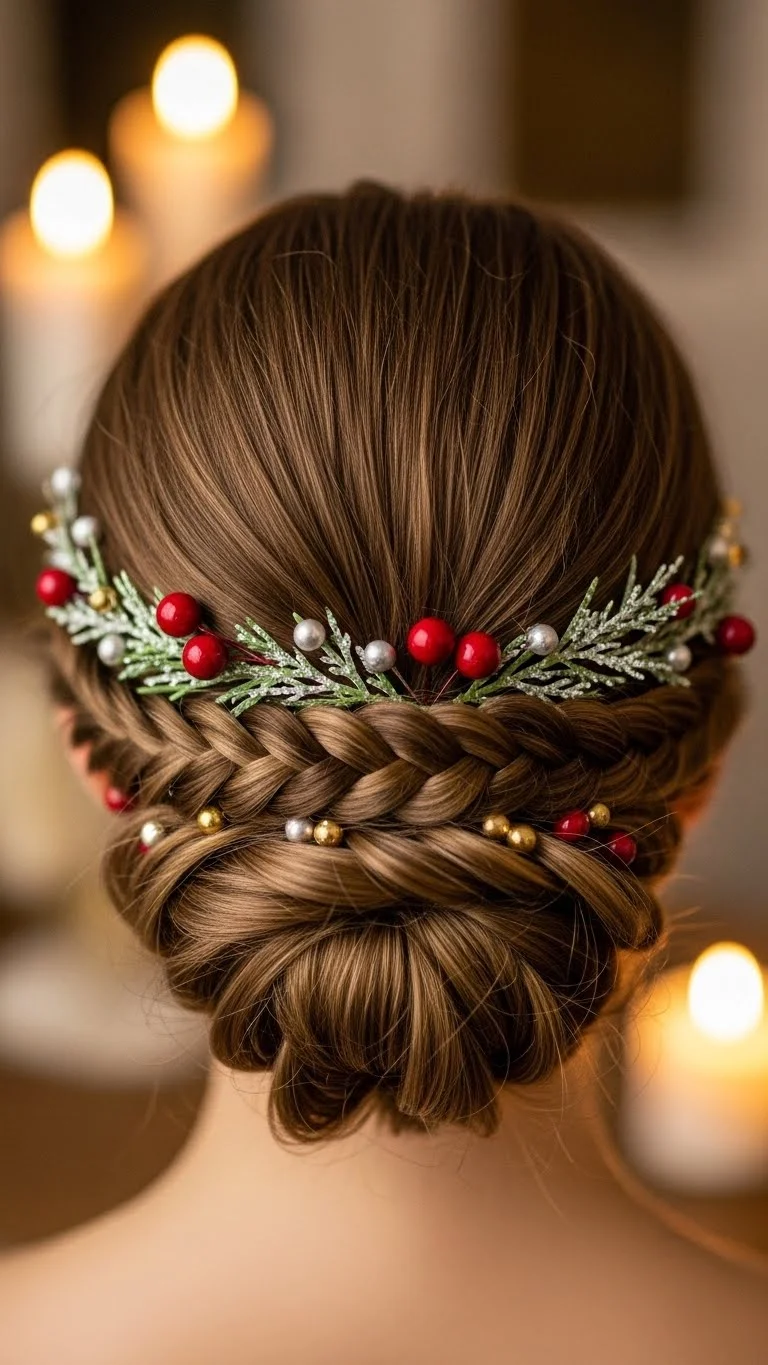
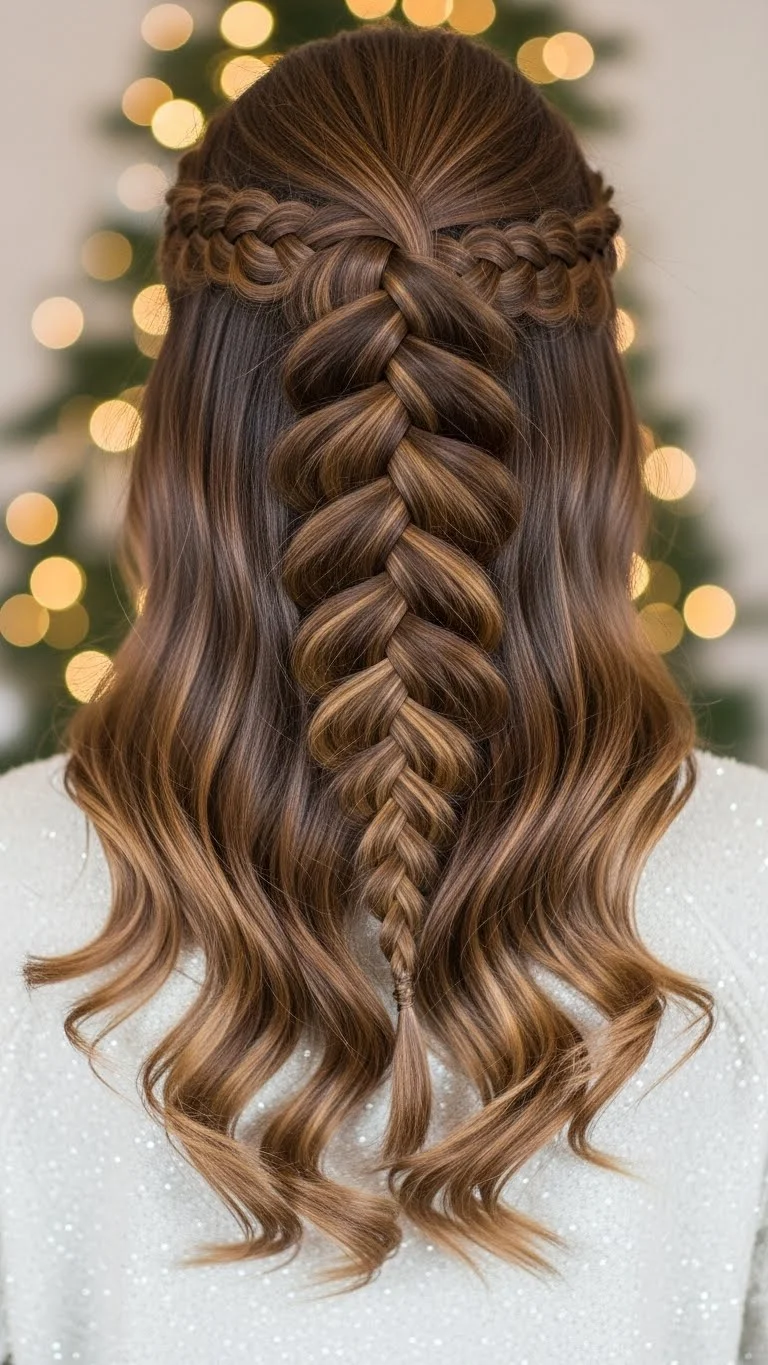
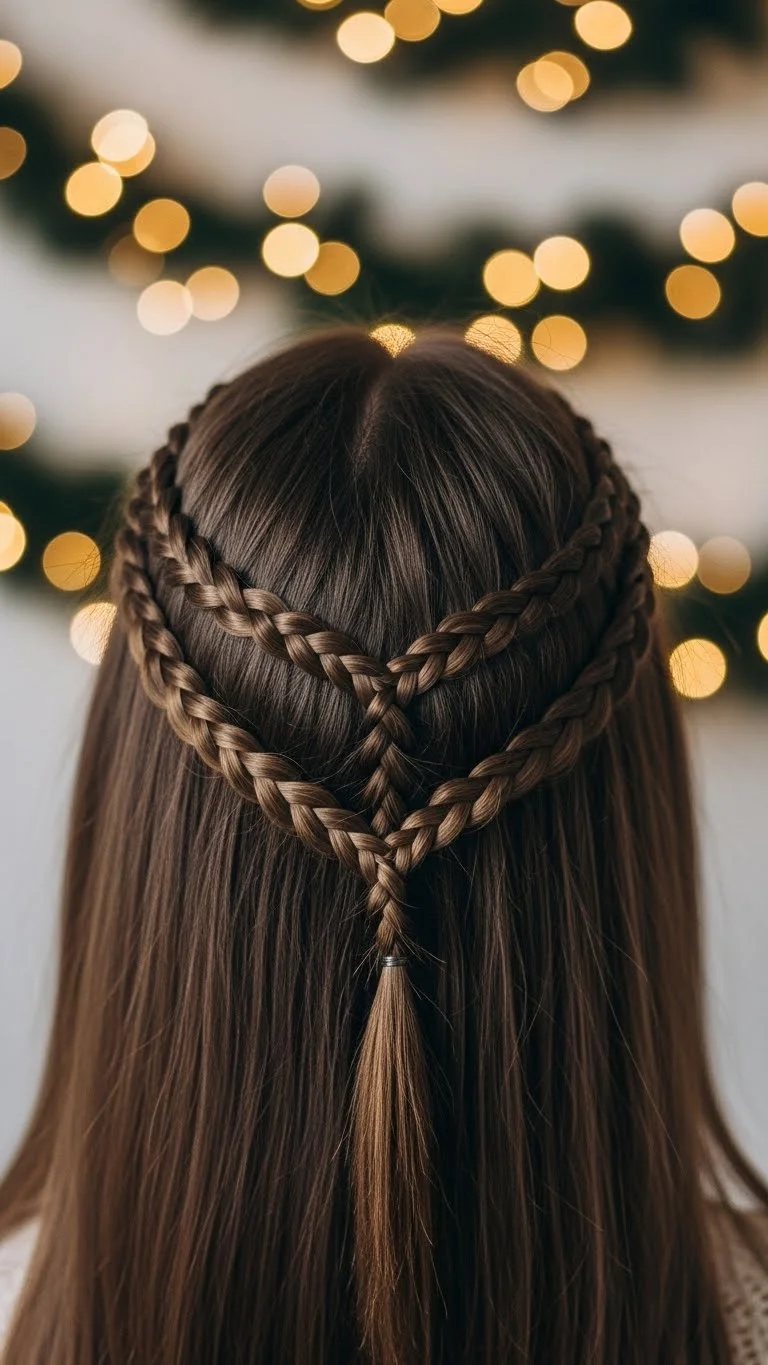
- Half-Up Braided Crown

This style creates a soft, angelic look. Separate two sections from the front and braid each loosely. Pull them back and pin them together at the back of your head. Keep the ends tucked neatly. This works well if you like leaving your hair down. For a seasonal touch, slip in a small pearl pin near the center. If you want extra texture, curl the loose hair lightly. The style holds well with just a couple of pins. You can use inexpensive clips from any local store.
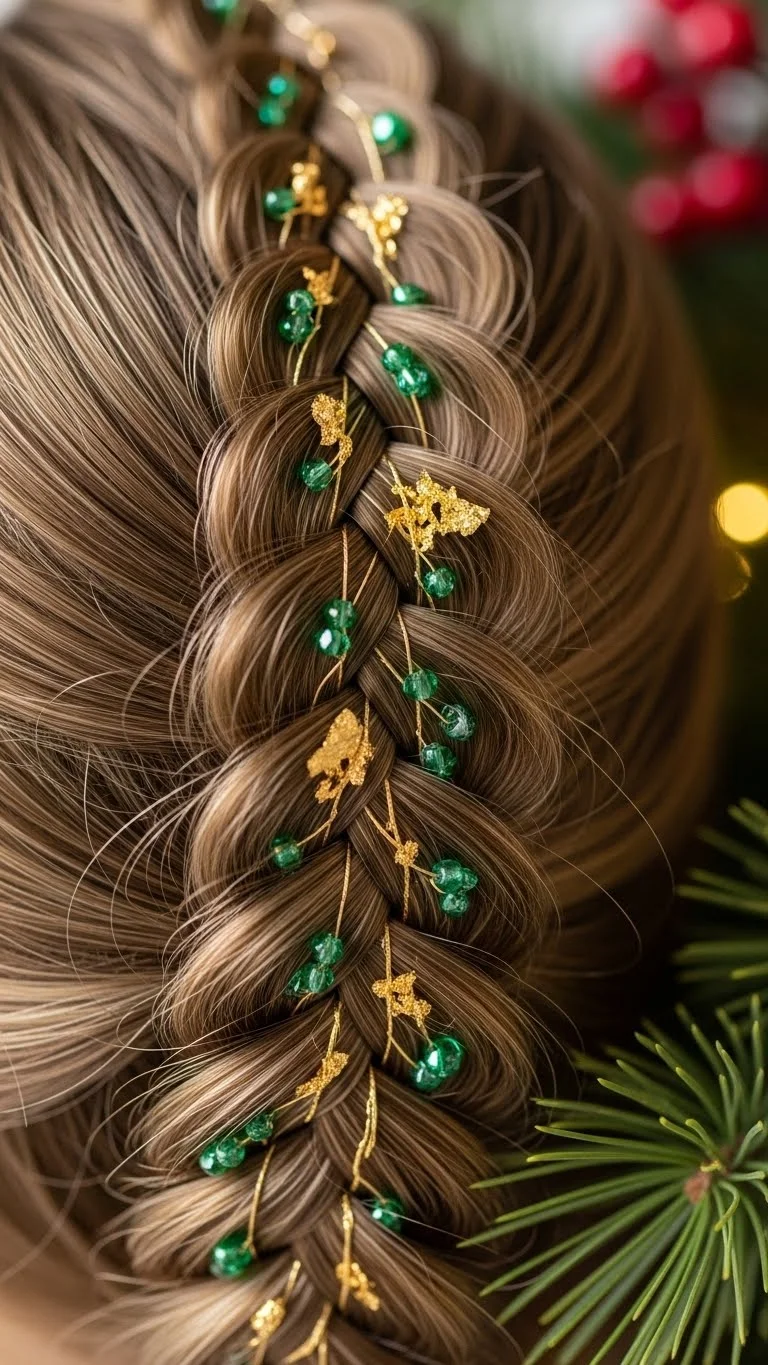
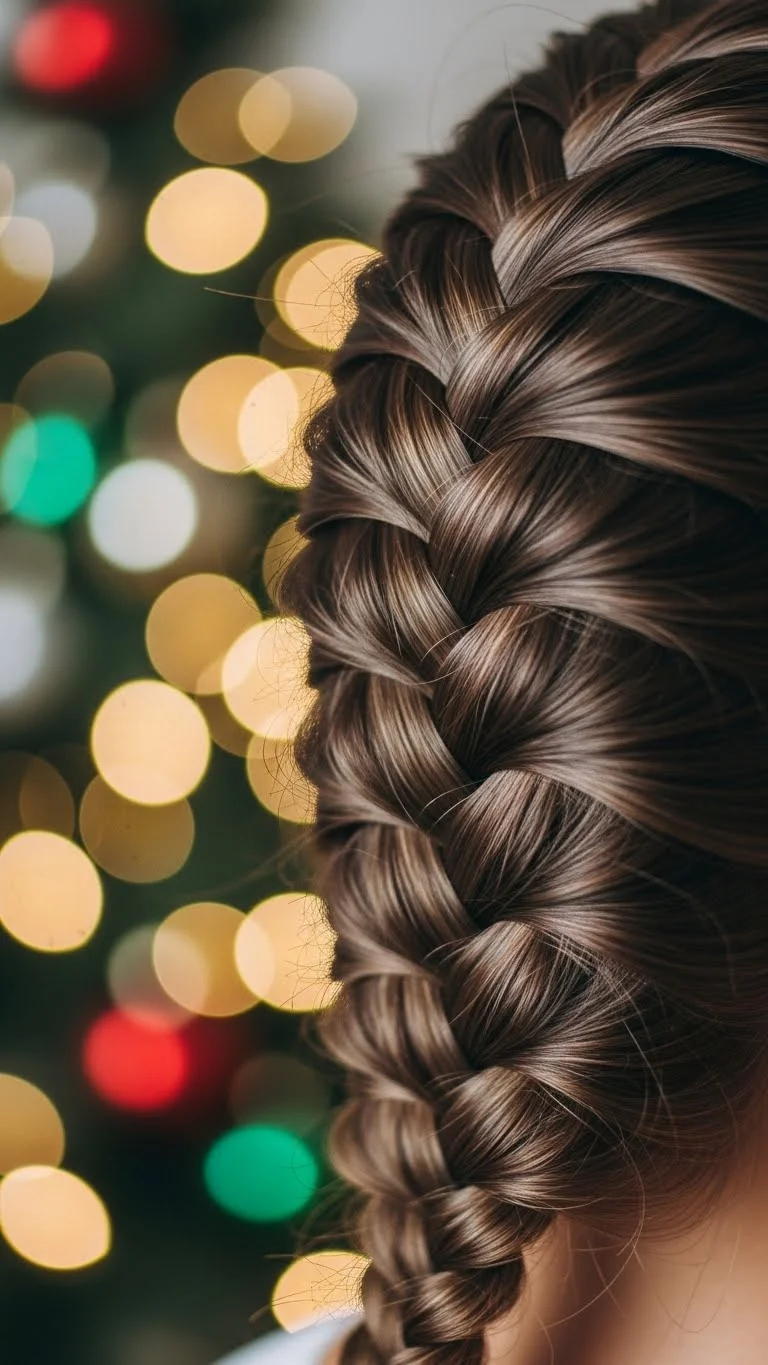
- Festive Fishtail Braid
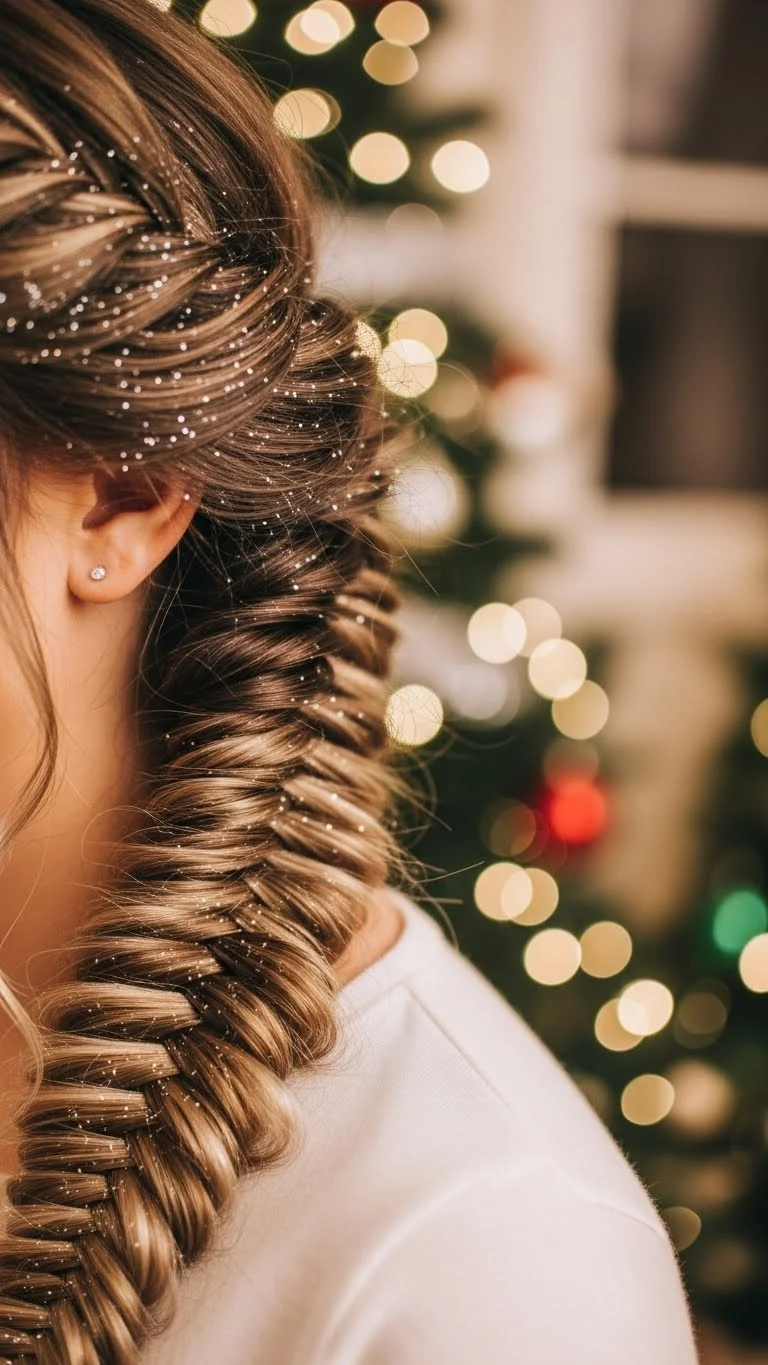
A fishtail braid looks detailed but is easier than it seems. Split hair in two sections. Bring small pieces from one side to the other. Repeat all the way down. Tug the braid slightly to create fullness. You can add glittery pins near the top. Use a small elastic to finish. If your hair tangles easily, brush well beforehand. A small amount of leave-in conditioner helps smooth the strands. For shorter hair, do a half-up fishtail instead of a full one.
- Twin Holiday Braids
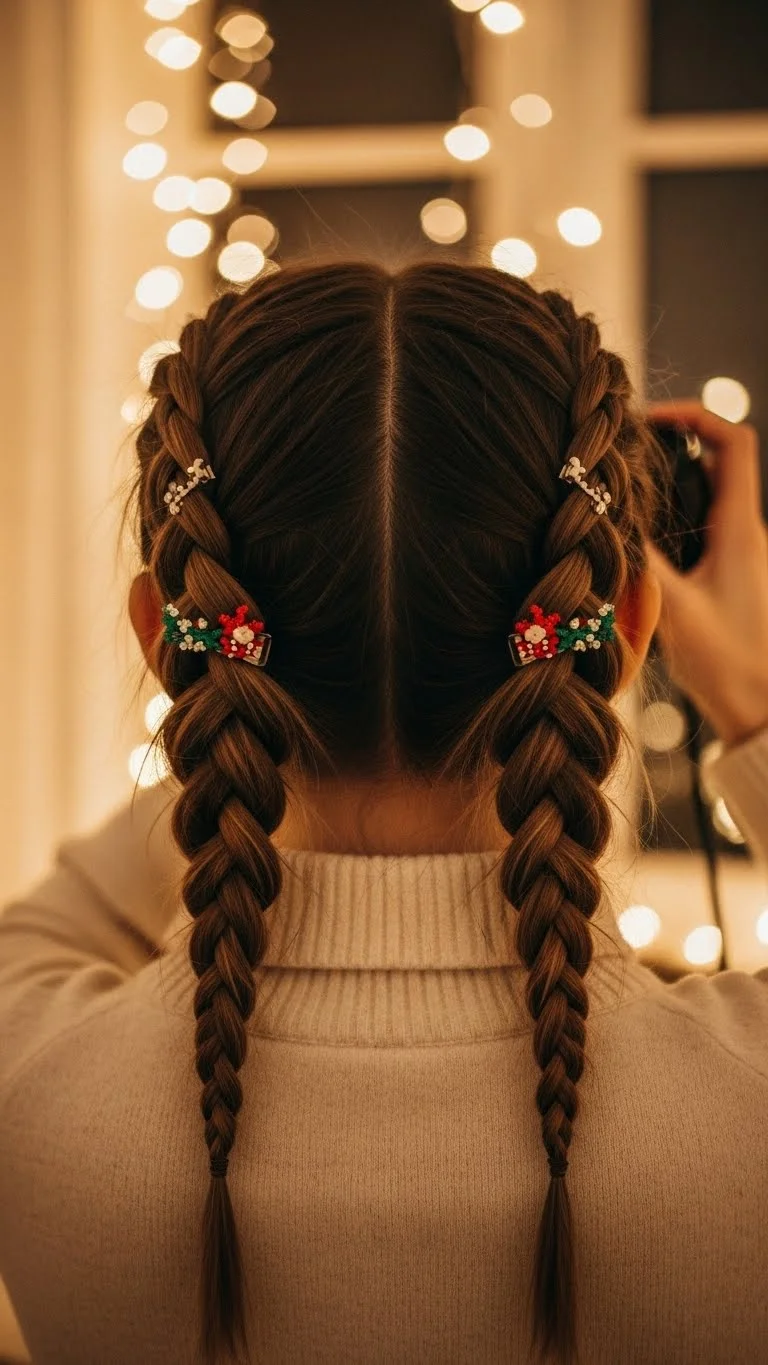
Two braids give a playful winter vibe. Part your hair down the middle. Braid each side tightly near the top, then loosen as you go. Add tiny clips or simple ribbons. They don’t need to match perfectly—mix red, white, or metallic shades. This style holds well in cold weather. If your hair slips, use a small dab of pomade at the top. It keeps the part clean. This look works well for casual outfits and cozy gatherings.
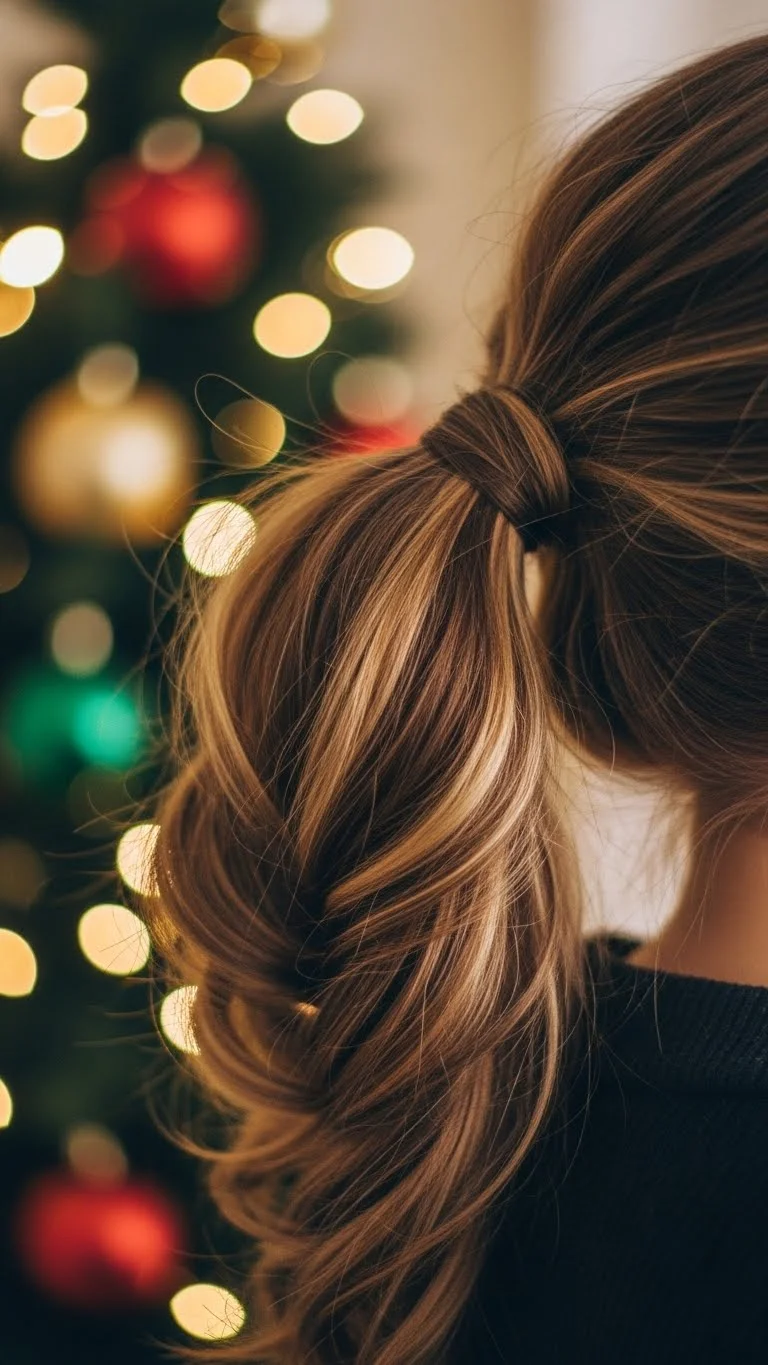
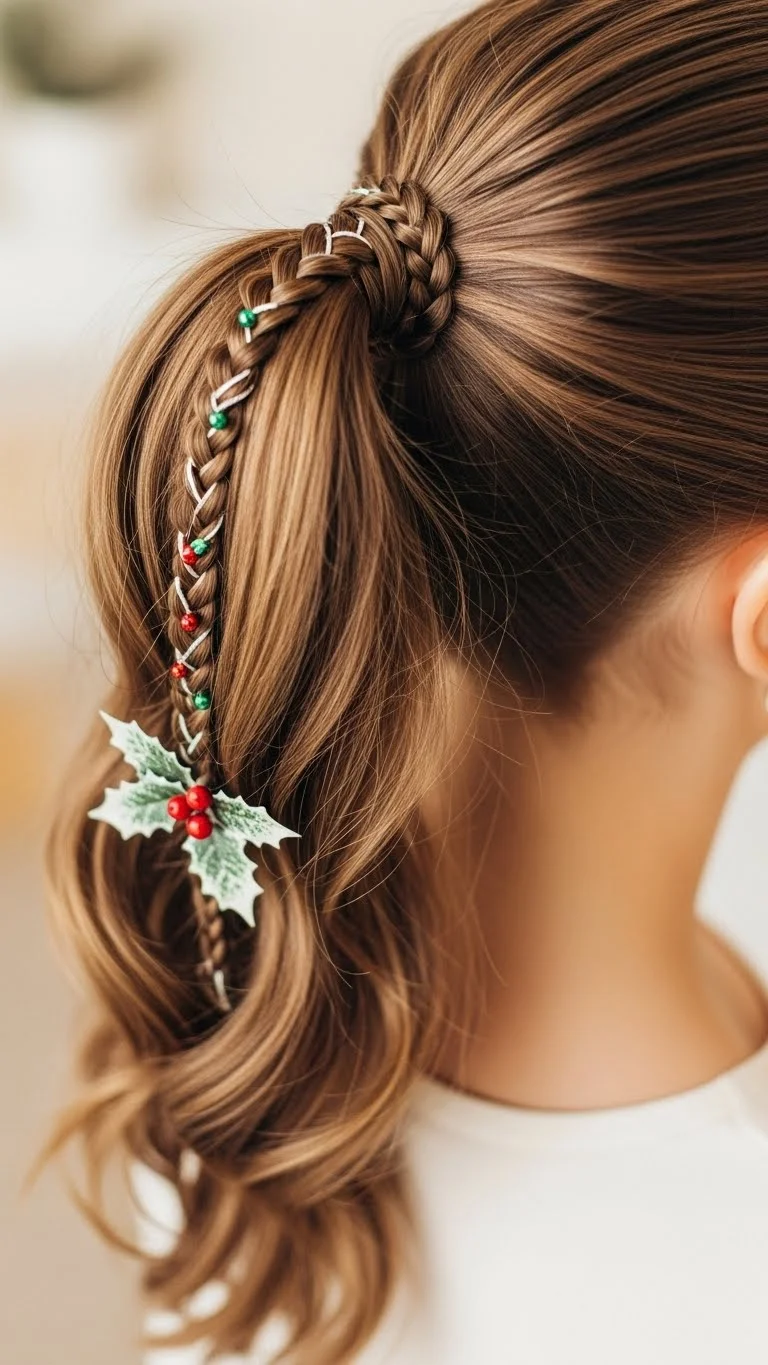
- Braided Ponytail Wrap
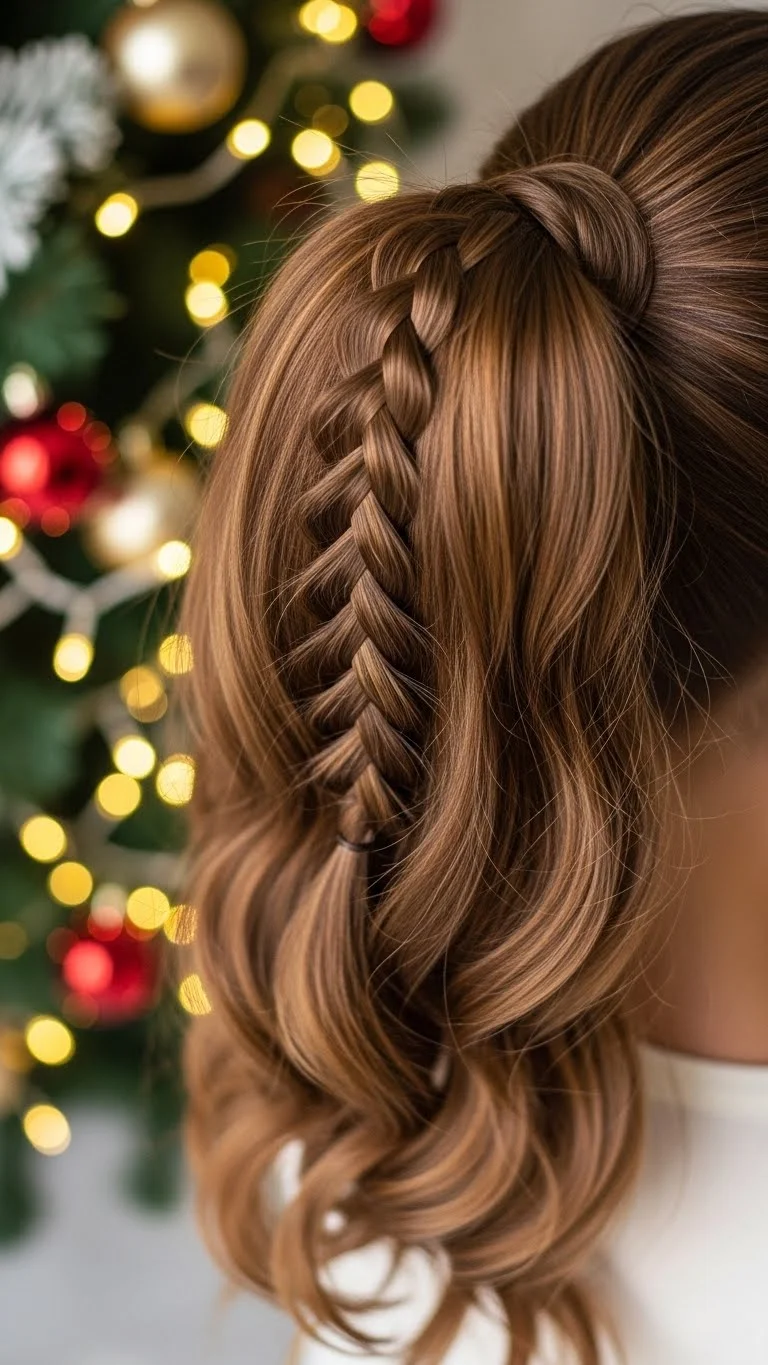
Start with a high ponytail. Take a small section and braid it. Wrap the braid around the base of the ponytail and secure with a pin. It hides the elastic and adds a stylish touch. You can place a tiny bow at the back for a soft seasonal detail. This works even on shorter ponytails. If your braid looks too thin, pull the edges slightly. For a polished finish, smooth the top with a gentle brush. Affordable satin scrunchies help prevent breakage under the braid.
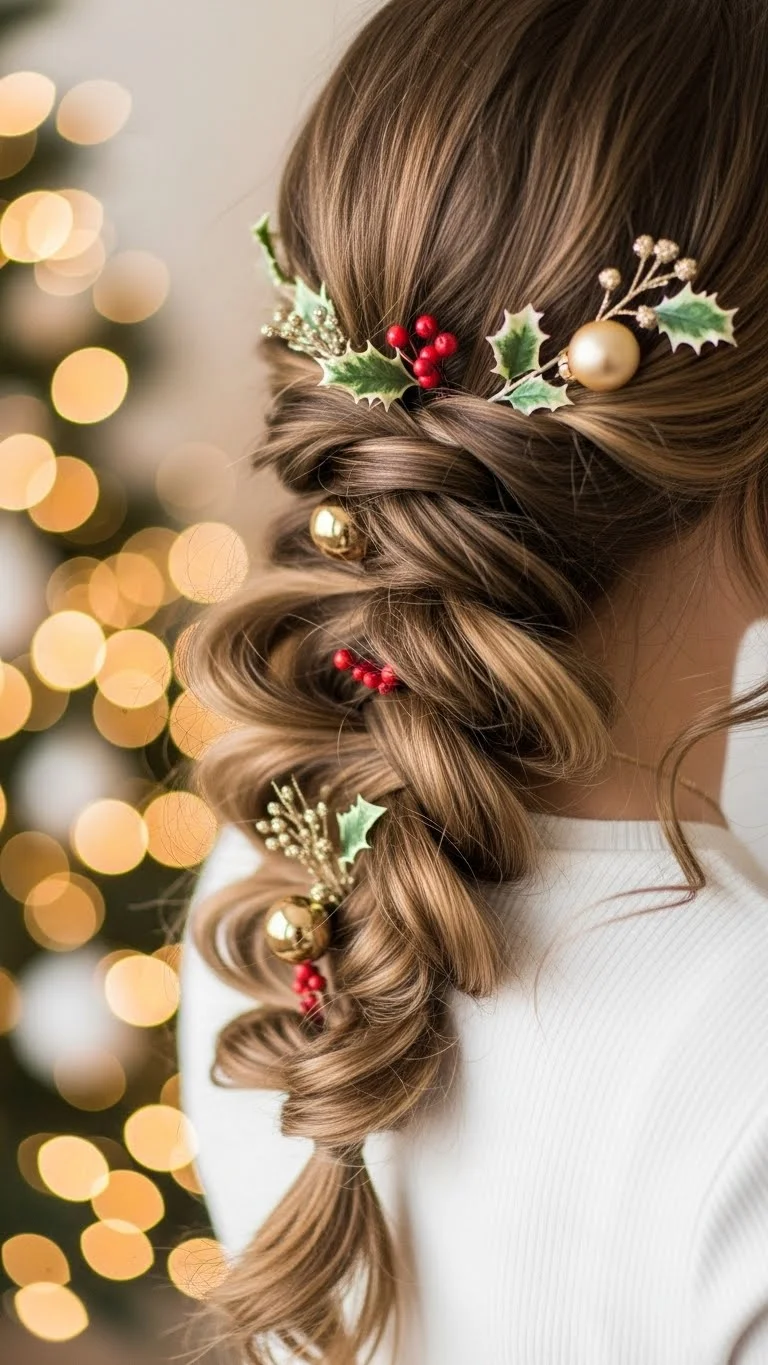
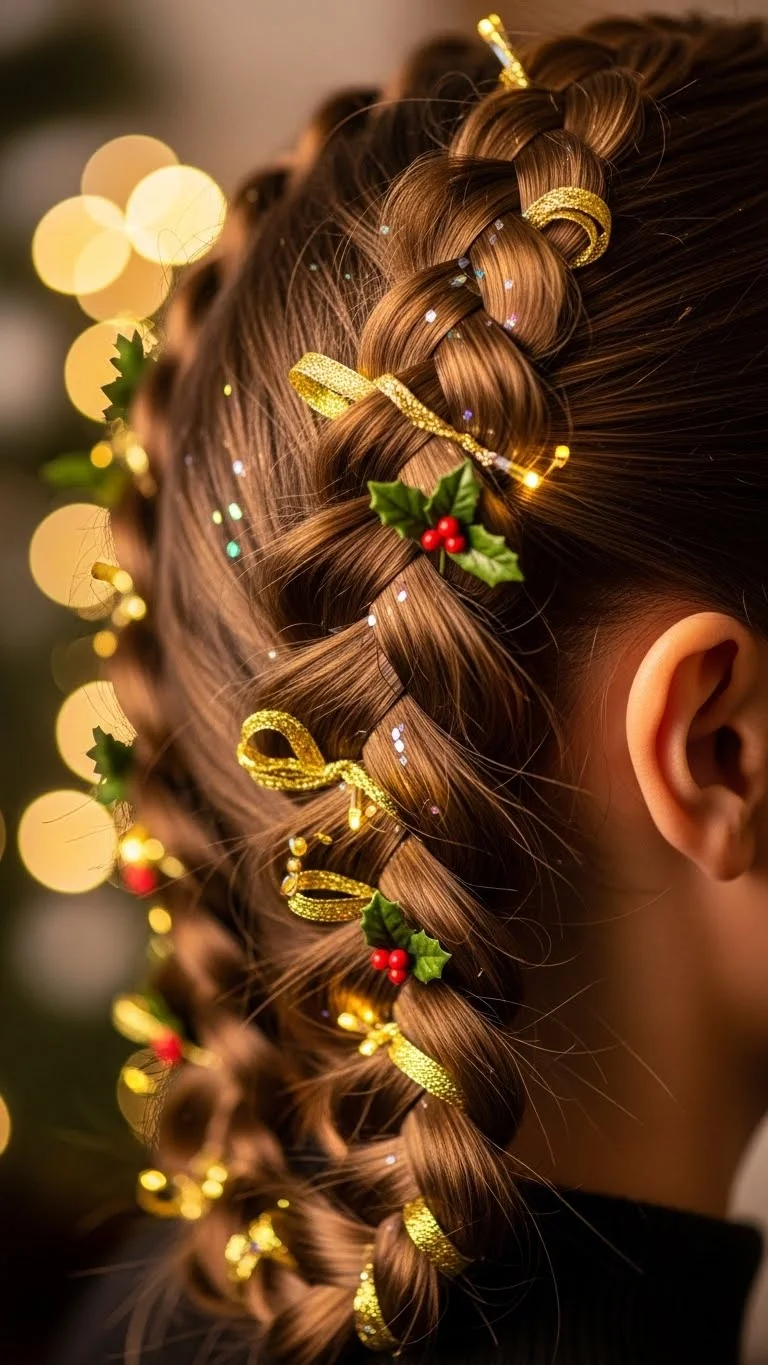
- Garland-Inspired Braids
Use small green ties or thin faux greenery threads made for hair. Start a classic braid and weave the greenery through. Keep it light so it doesn’t snag. A single strand is enough for a festive touch. This works well for holiday photos. If you’re worried about slipping, anchor the greenery near the top with a small pin. It’s a simple way to bring color into your style using low-cost accessories.
- Messy Christmas Braid
A messy braid gives softness and movement. Start with loose curls. Create a relaxed braid down the back, pulling sections gently for volume. Add a small sparkly clip near the top. Let front pieces frame the face. This style works well on long and medium lengths. If your curls fall flat, twist small pieces before braiding. This adds natural texture. It’s quick, simple, and perfect for last-minute plans.
- Braided Top Knot
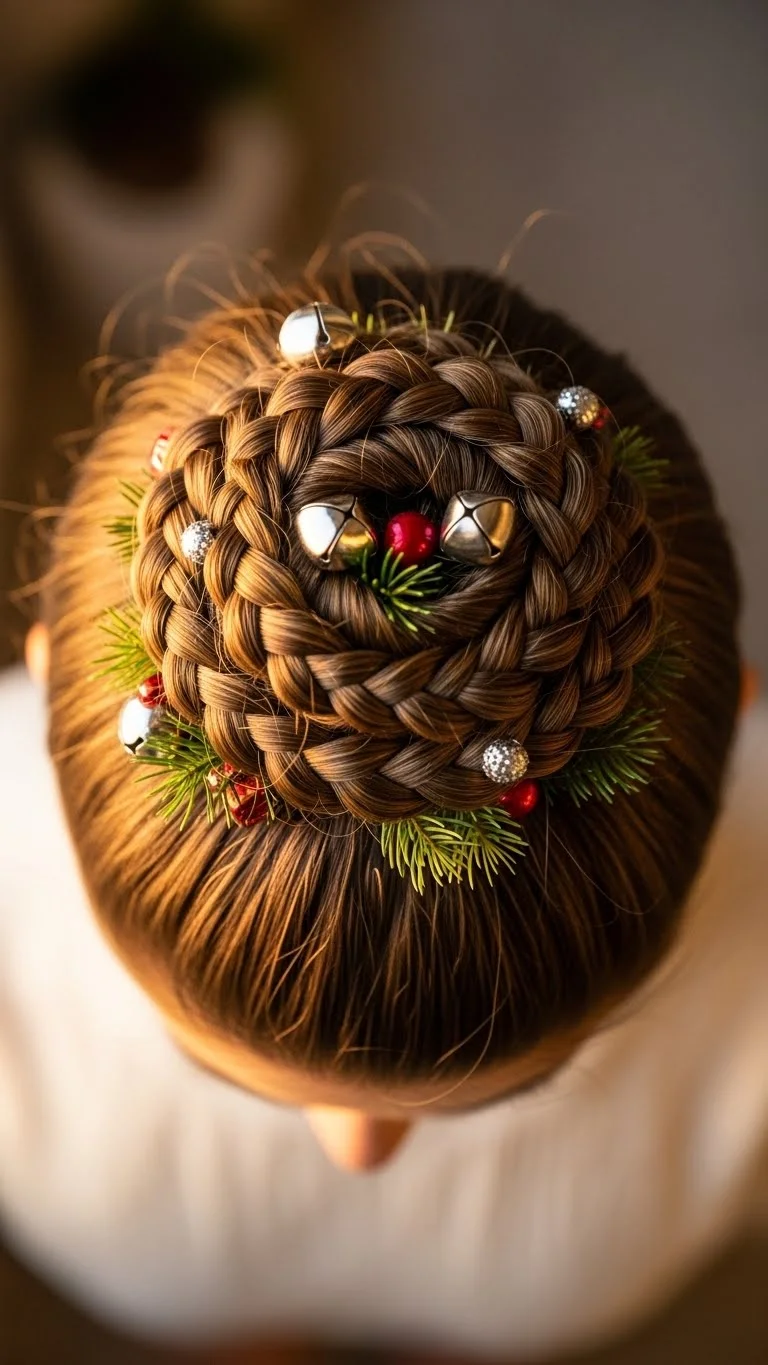
Create a high ponytail, then braid it and wrap it into a top knot. Secure with pins. This keeps hair off your neck and looks stylish. Add a red bow or tiny charm at the base. If your hair is shorter, do a half-up version. Use soft elastics to avoid breakage. This style holds well for long nights and photos. You can adjust the size of the knot depending on how tight you braid.
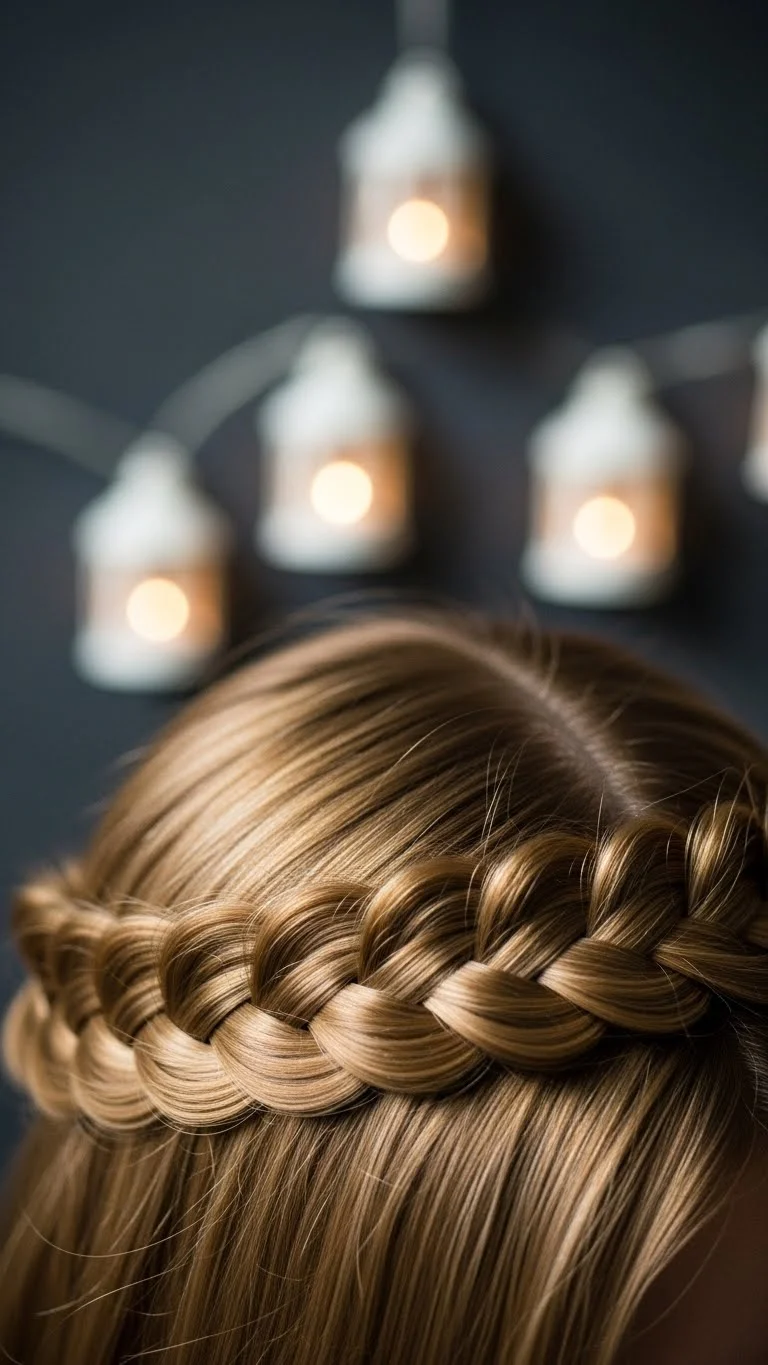
- Wrapped Milkmaid Braids
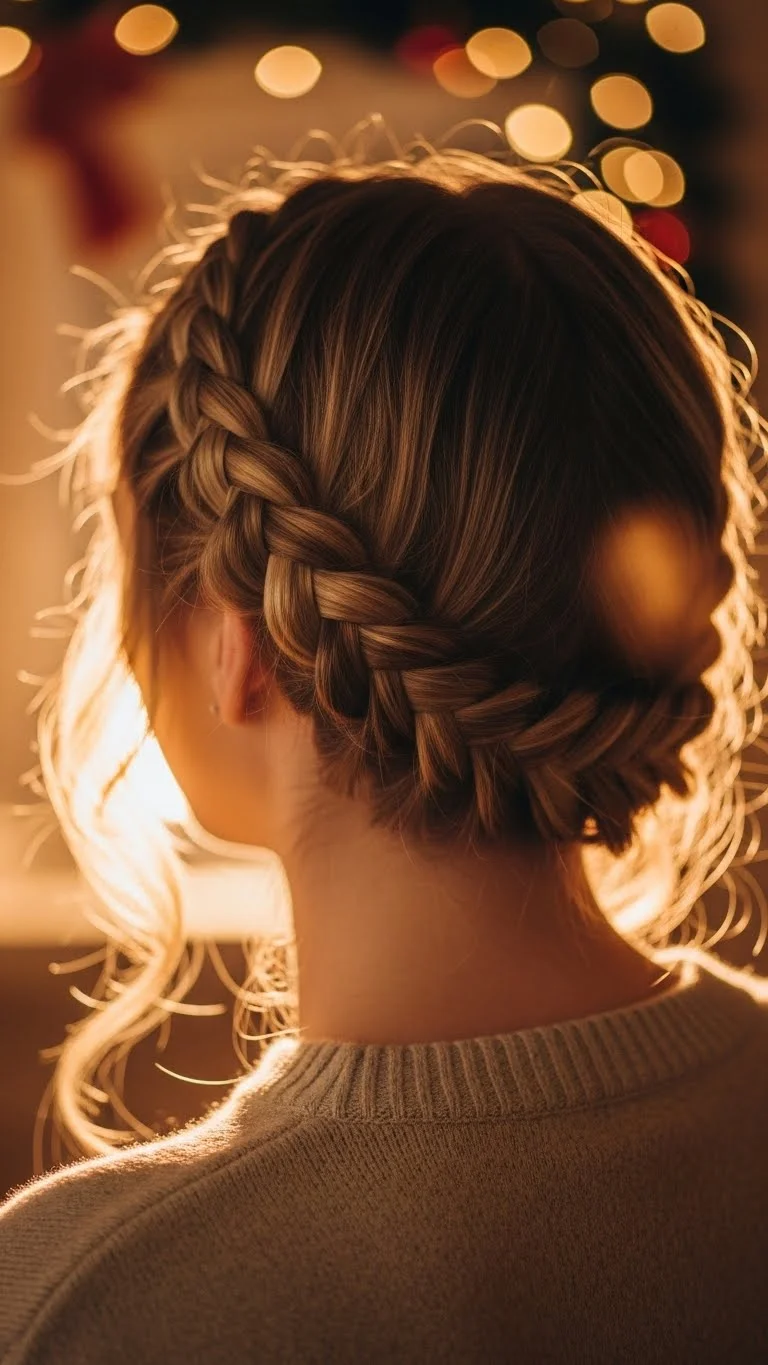
Split your hair into two braids. Wrap them across your head like a headband and pin them securely. This style works well with sweaters and dresses. Add a pearl pin near one side for a seasonal touch. If your hair is thick, use extra pins to keep it secure. Lightly loosen the braids for softness. This style stays put even in cold, windy weather.
- Christmas Bow Braid

A single bow adds charm to a simple braid. Choose a soft fabric bow that clips on. Start a basic braid and place the bow at the end or near the middle. This looks lovely in photos. It’s a budget-friendly accessory you can reuse. If your hair slips, tie the braid with a clear elastic before clipping the bow. This keeps it in place all day.
- Candy Cane Twist Braid
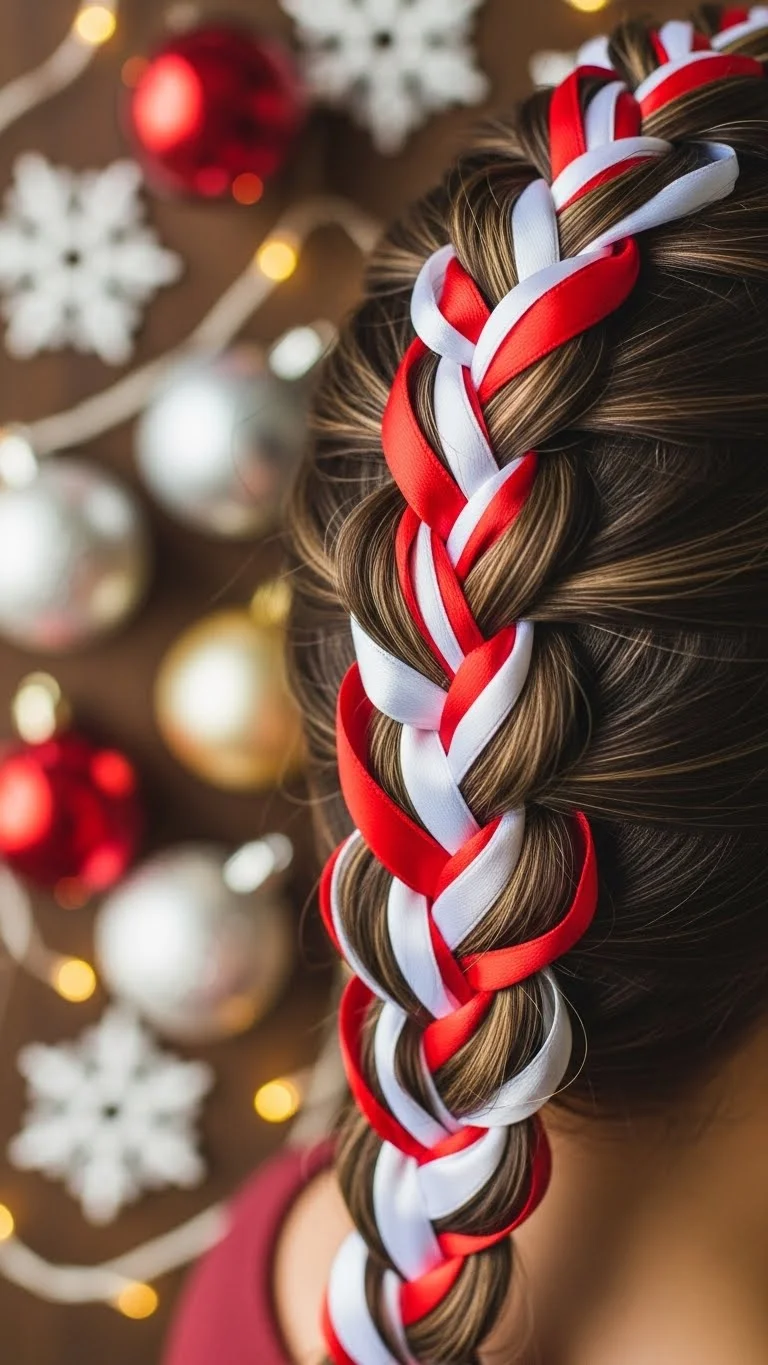
Use red and white ribbon to create a candy cane effect. Start with a loose braid and weave both ribbons through. Keep the pattern even for a clean look. This style suits kids and adults. For lighter hair, the contrast pops well. If you’re on a budget, use leftover ribbon from gift wrapping. Just cut thin strips and secure them with a hidden pin near the top.
- Braided Side Pony
Begin a braid near one side of your head and pull it into a side ponytail. Let the ends fall freely. Add a colorful tie or clip. This style works well when you want a quick change from your everyday look. Curl the ends lightly for extra softness. If your hair is very straight, add a bit of texturizing spray before styling. This creates grip and keeps the braid shaped.
- Loose Waterfall Braid
A waterfall braid looks elegant without being complicated. Start near the front and drop small sections as you braid around the head. Let curls fall underneath. This frames the face gently. Add a small silver clip for a seasonal detail. If your hair slips, practice on slightly textured hair. Dry shampoo helps with grip. This works beautifully for holiday dinners or photos.
- Braided Headband Twist
Take a small section behind one ear, braid it, and pull it over your head like a headband. Pin behind the other ear. This gives a sweet, simple look. Leave the rest of your hair down and soft. A tiny festive pin near the braid adds charm. If your hair is short, use smaller braids. This style stays put with just a few pins.
- Holiday Infinity Braid
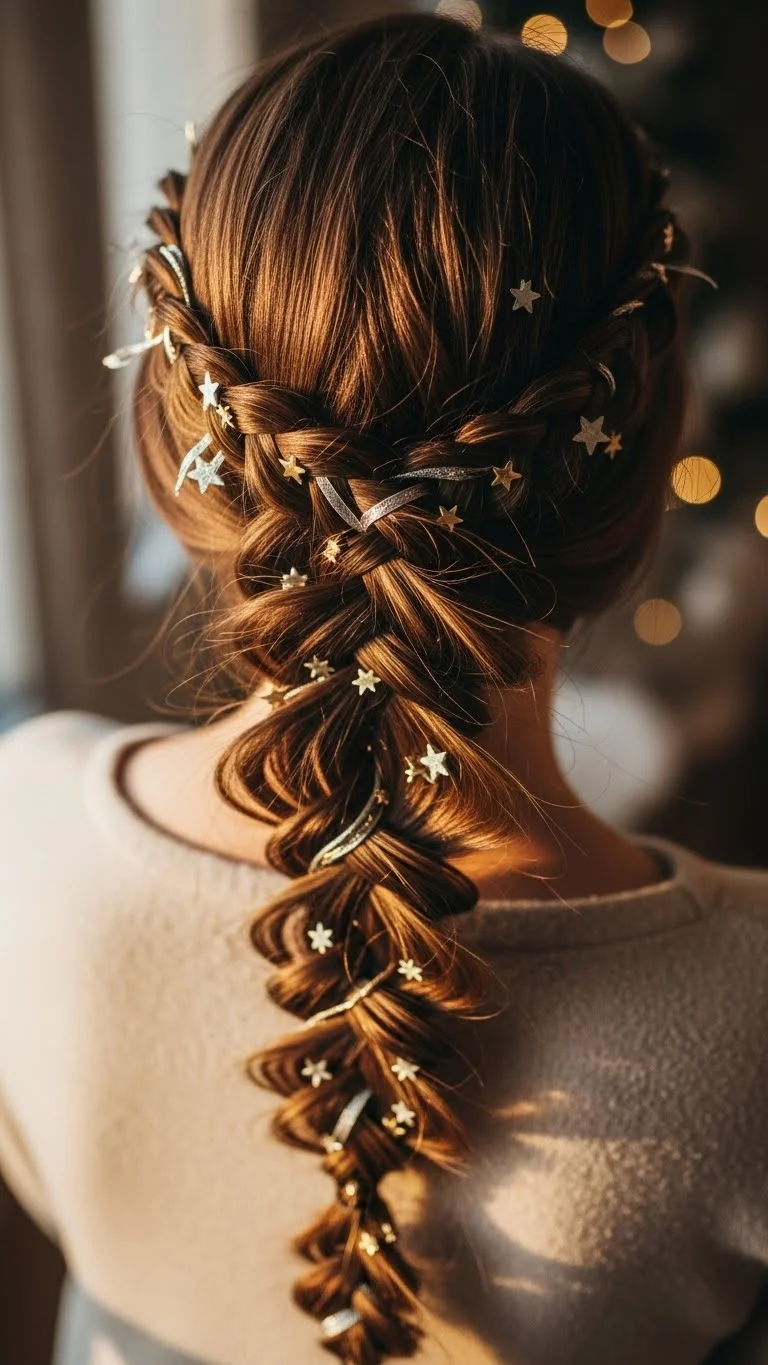
The infinity braid looks detailed but is steady once you get the pattern. Work slowly and use small sections. Add a thin metallic thread through the braid for holiday sparkle. Keep the thread light so it doesn’t snag. This works well for long hair. If the braid feels tight, loosen small loops for softness. A tiny bow near the end adds a cute finish.
- Tinsel Accent Braid
Clip in lightweight tinsel strands. Braid gently so the pieces weave through without pulling. Choose colors like gold, red, or silver. They reflect light beautifully. This works well for parties or nighttime events. If the tinsel feels slippery, tie it near the top with a tiny elastic. Use only a few strands so the look stays soft, not overwhelming.
- Side-Swept French Braid
Start a French braid on one side and work diagonally across the head. Let it fall over one shoulder. This frames your face well. Add a small holiday pin near the end for charm. If your braid feels tight, pull small sections to loosen it. This style works on medium and long hair. Use soft elastics to avoid breakage.
- Twisted Rope Braid
A rope braid is quick and beginner-friendly. Twist two sections in the same direction, then wrap them in the opposite direction. Secure with an elastic. Add a bow or charm near the end. This style keeps hair neat during busy days. If your twists slip, add a small bit of texturizing spray. It gives grip without weighing strands down.
- Faux French Wrap Braid
Instead of a full French braid, braid small sections and pin them along the head for a wrapped effect. This gives the look of a structured style without the effort. Pin each braid gently so it stays flat. Add a single festive clip on one side. This works well for shorter or layered hair. It’s easy, quick, and perfect for photos.
- Holiday Boho Braid
Keep the braid loose and wavy for a laid-back holiday vibe. Add small beads or simple metallic pins. They’re affordable and easy to remove. curl the ends slightly to blend everything. If your hair tends to fall flat, twist small sections before braiding. This adds natural texture. It’s great for casual gatherings or outdoor winter photos.
- Crisscross Accent Braid
Take small front sections and crisscross them at the back, pinning as you go. Add a loose braid below the crossed pieces. This gives shape without heavy styling. Add a tiny pearl or gold pin near the center. This works well for medium hair. Use lightweight pins so they stay hidden. It’s simple yet eye-catching.
- Bow-Tie Braided Pigtails
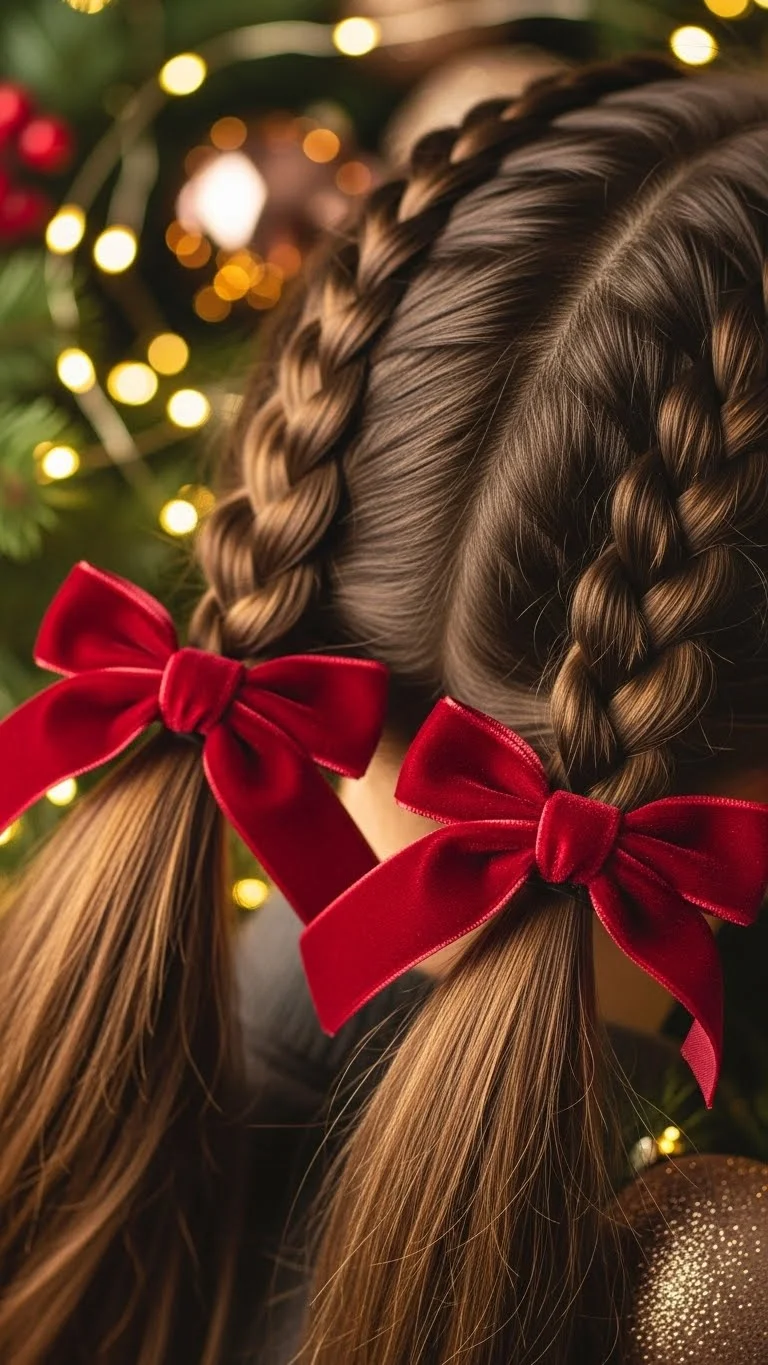
Create two pigtail braids and tie each with a small ribbon. Use soft satin ribbon for comfort. You can match the colors to your outfit. Keep the braids slightly loose for a relaxed look. If your hair frizzes easily, smooth a tiny bit of serum over the top. This gives a neat finish without feeling heavy.
- Braided Holiday Pony Wrap
Start with a mid-level ponytail. Create a thin braid from a small section and wrap it around the base. Secure with a pin. Add a small charm underneath for a subtle touch. If the braid slips, use a clear elastic first. This works well for quick touch-ups before heading out.
- Frosted Pearl Braid

Use small pearl clips or stick-on beads. Space them evenly along the braid. Keep the braid loose so the pearls stand out. Choose lightweight pieces to avoid pulling. Pearls add a soft, elegant vibe to holiday outfits. This style works well for dinners or formal photos. It’s simple and budget-friendly.
- Holiday Crimped Braid
Crimp a few small sections before braiding. This adds texture and dimension. You don’t need to crimp everything—just a few pieces. Braid loosely so the texture shows through. Add a tiny glitter clip near the top for a festive sparkle. This works especially well on medium or long hair. It’s a fun, creative look for gatherings.
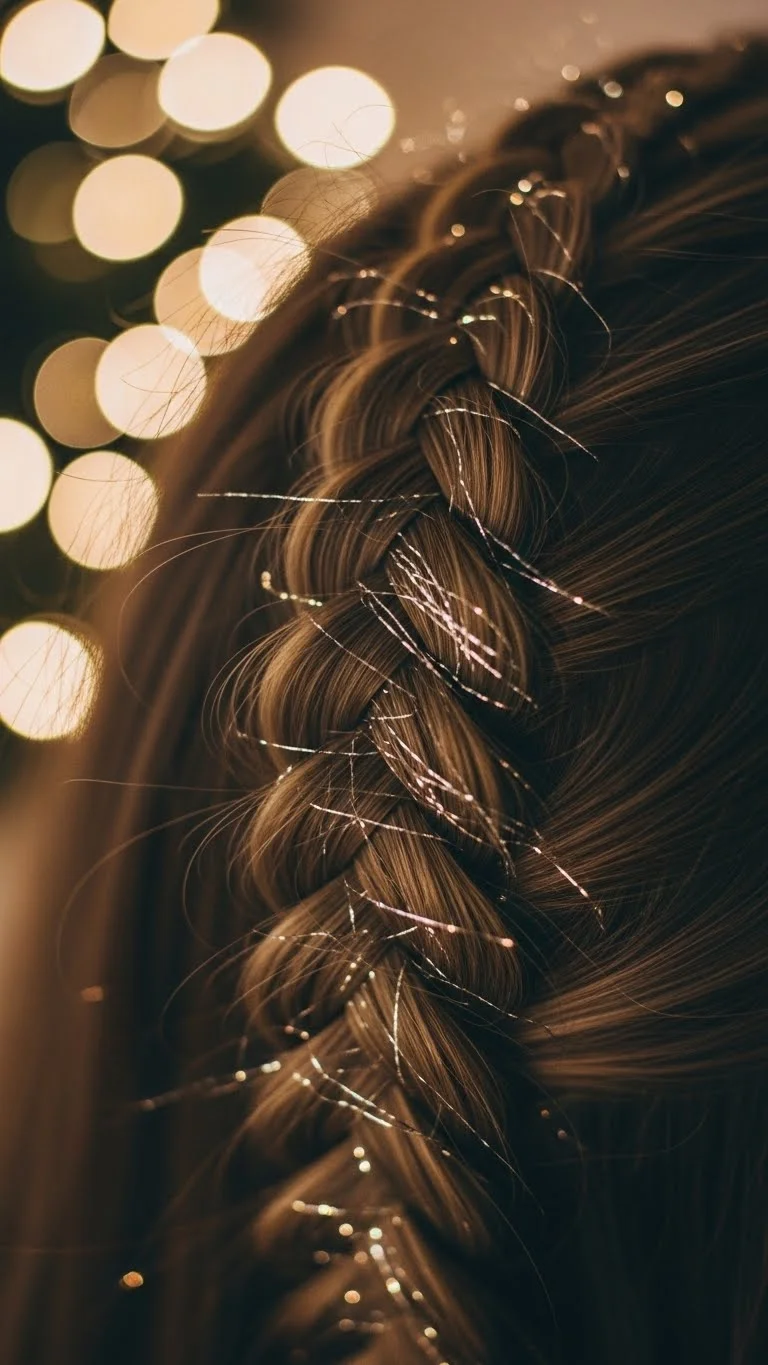
- Sparkle-Weave Braid
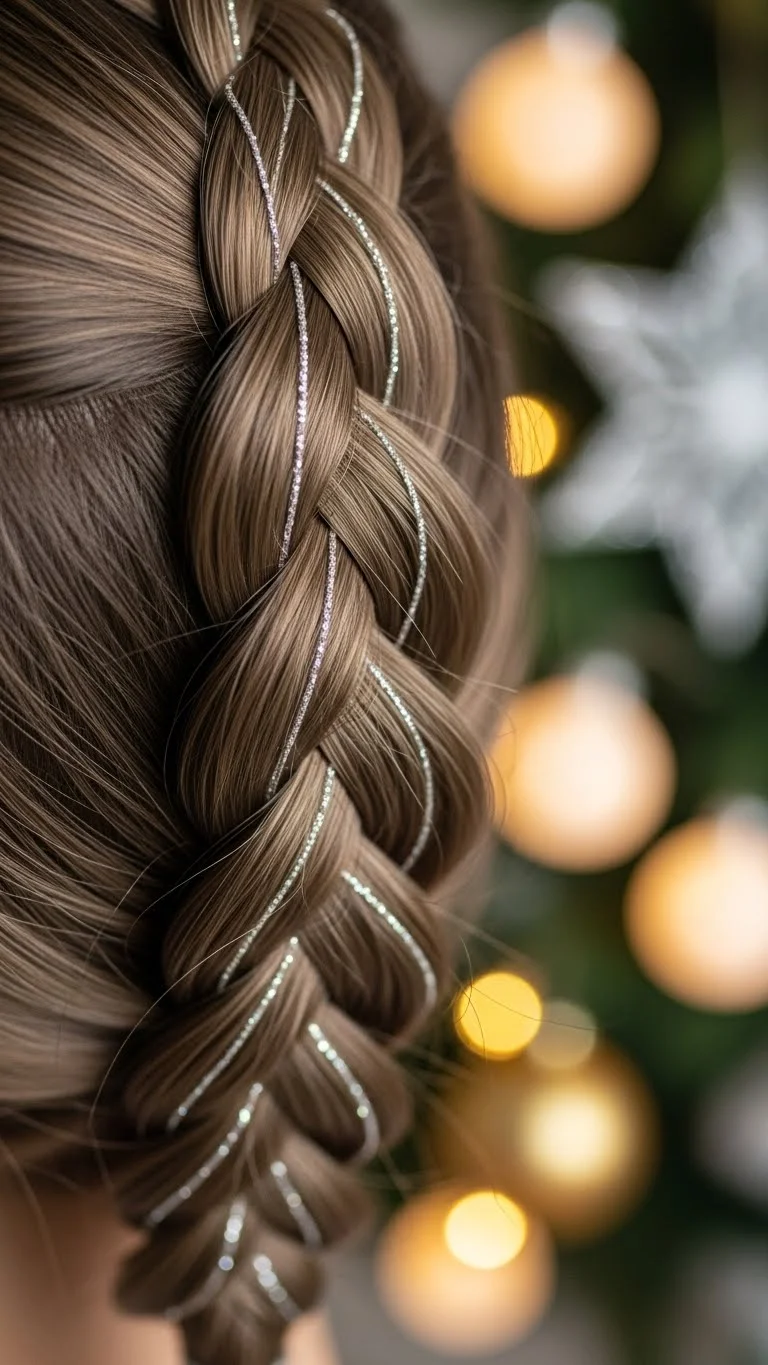
Weave a thin glitter thread lightly through a simple braid. Keep it soft so it doesn’t tangle. Choose gold, silver, or rose shades. This adds gentle shine without feeling heavy. For extra hold, secure the thread with a pin near the top. This style works well for evening events, photos, or casual outings. It’s an easy way to bring subtle sparkle into your holiday look.
Conclusion
Braided Christmas hairstyles bring charm, color, and personality to the season without heavy effort. With small accessories, soft ribbons, or simple pins, you can create looks that feel special and easy to wear. Try a few styles, mix in your favorite details, and enjoy experimenting with festive ideas that fit your budget and your routine.